
How to Configure an Epson TM-U220B-767 Kitchen Printer
Overview
In this article we will review how to change the network configuration of an Epson TM-U220 impact printer. It may seem a little daunting at first, but the whole process can usually be completed in about ten (10) to twenty (20) minutes.
Having Trouble? Contact Santa Barbara Cash Register Support.
Required Materials
-
A computer
-
A pen or paper clip
-
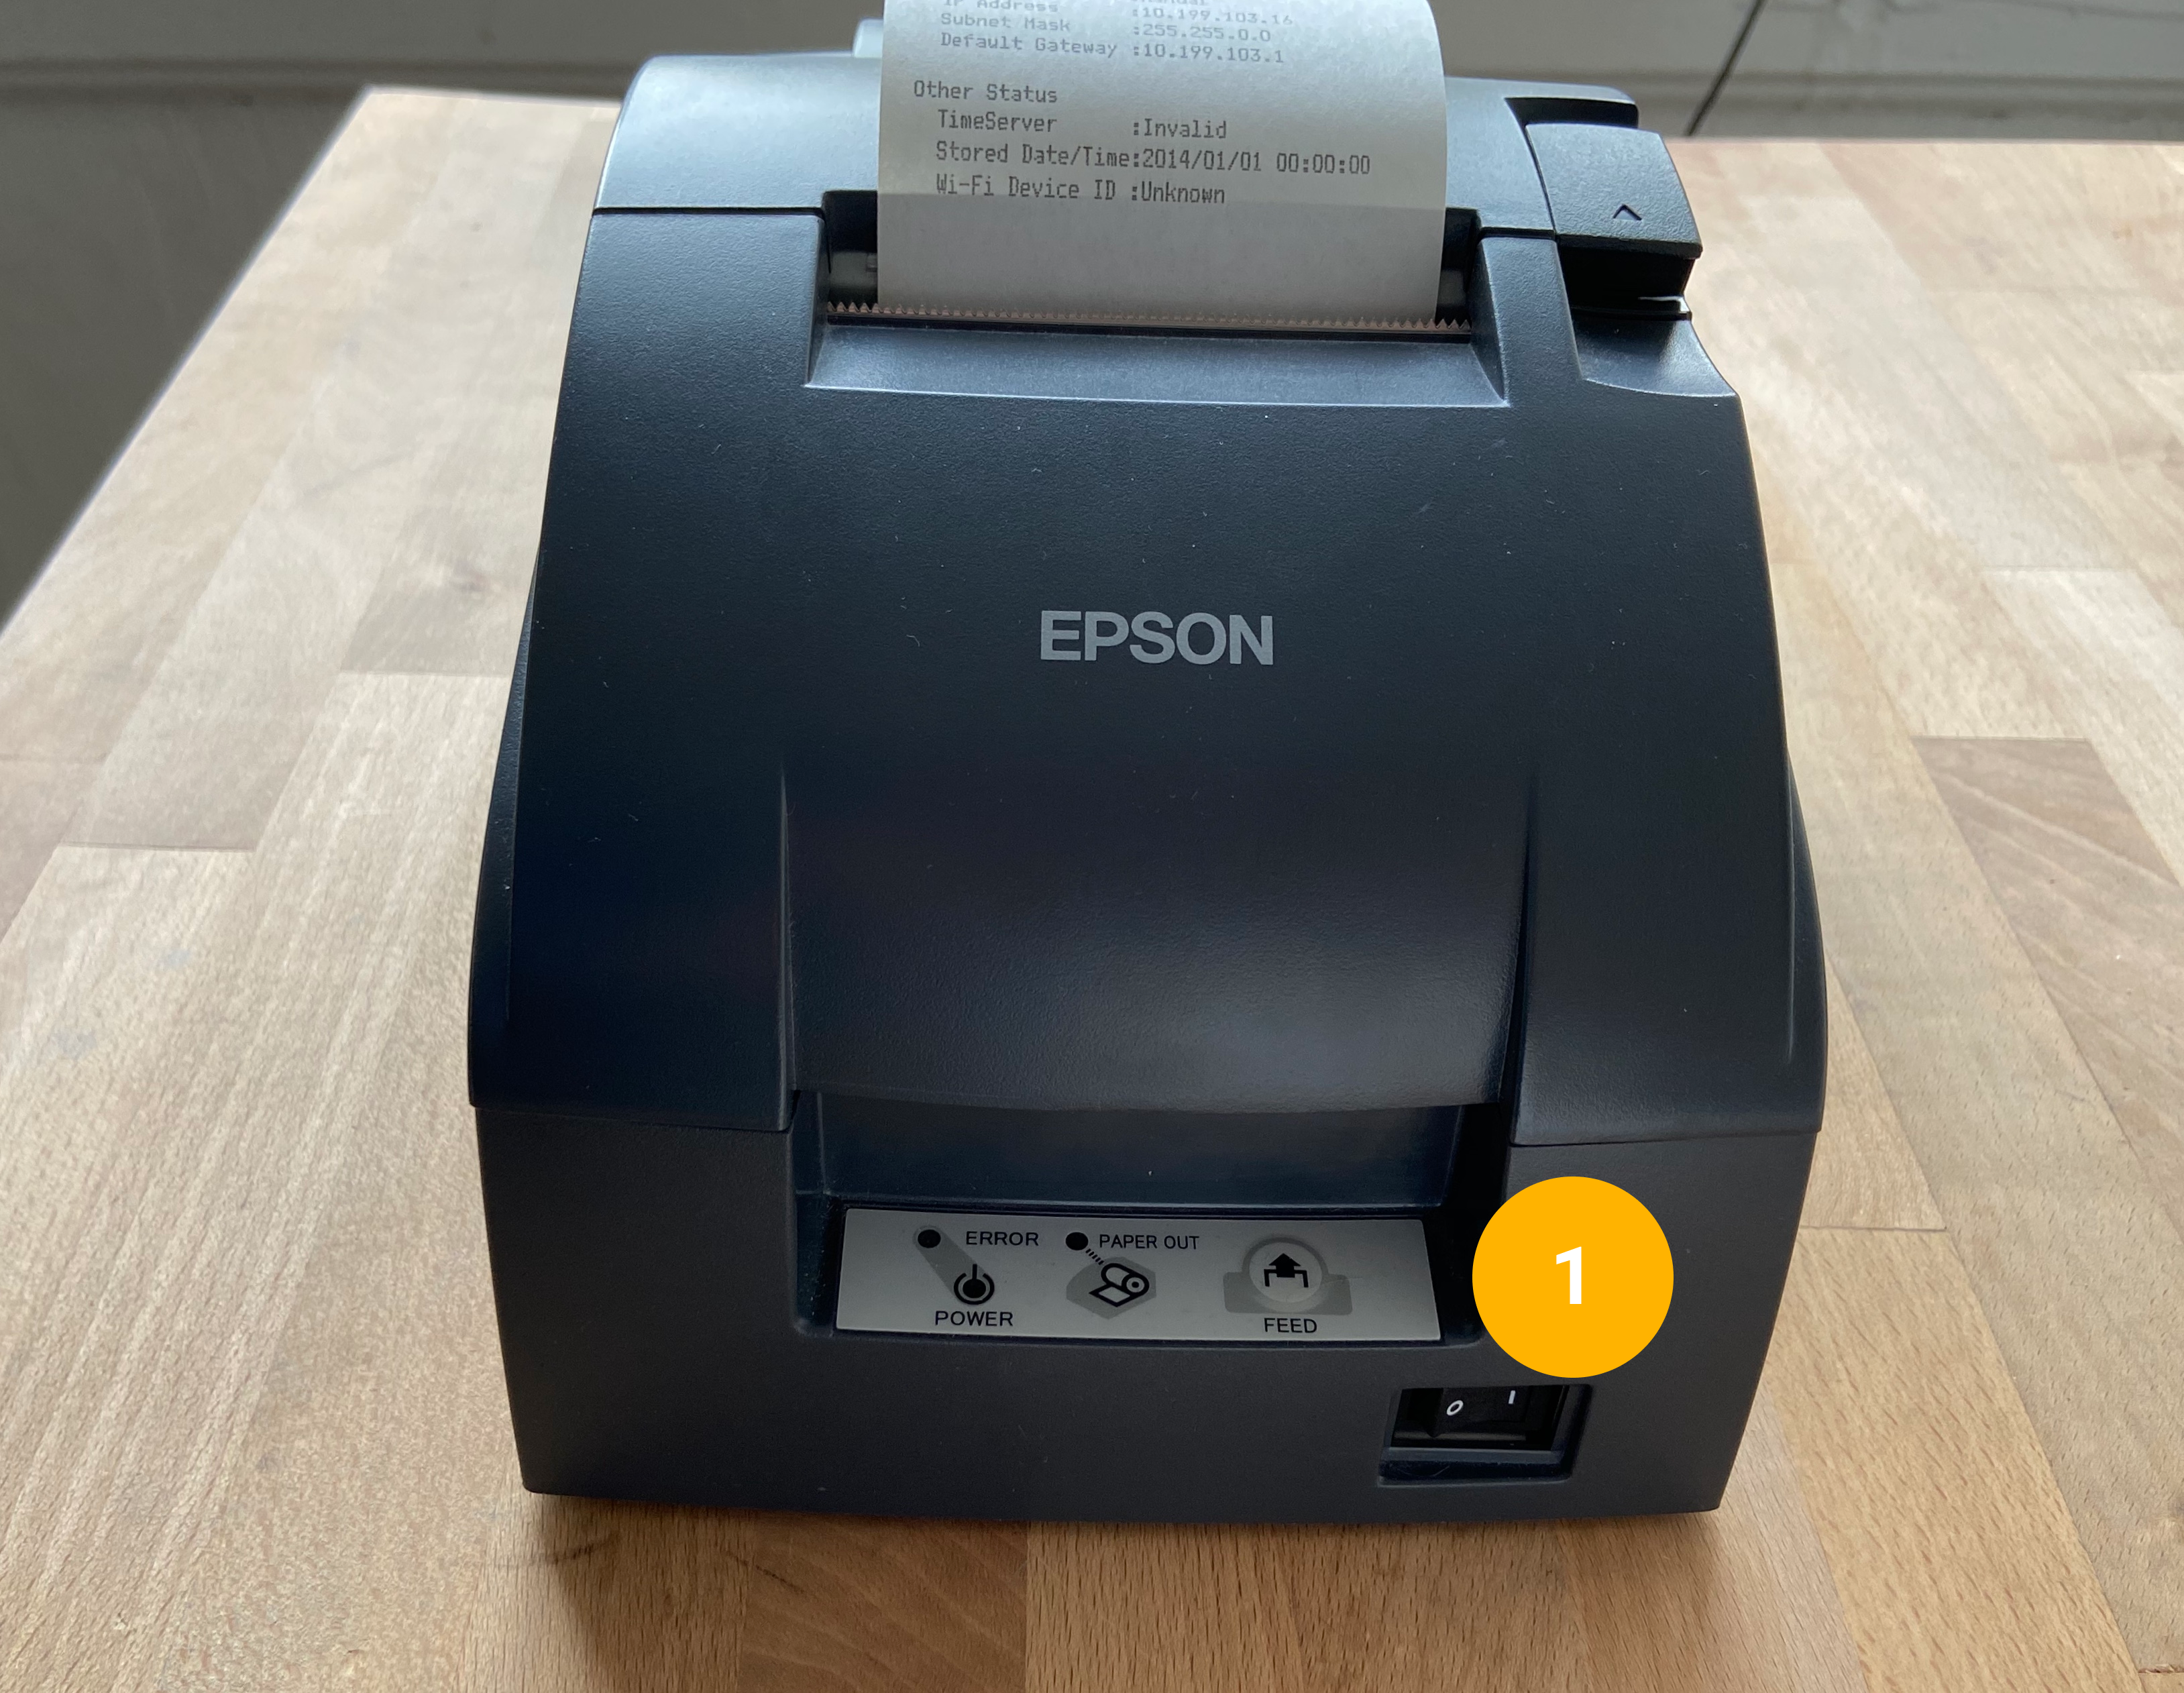
An Epson TM-U220 printer (factory reset)
-
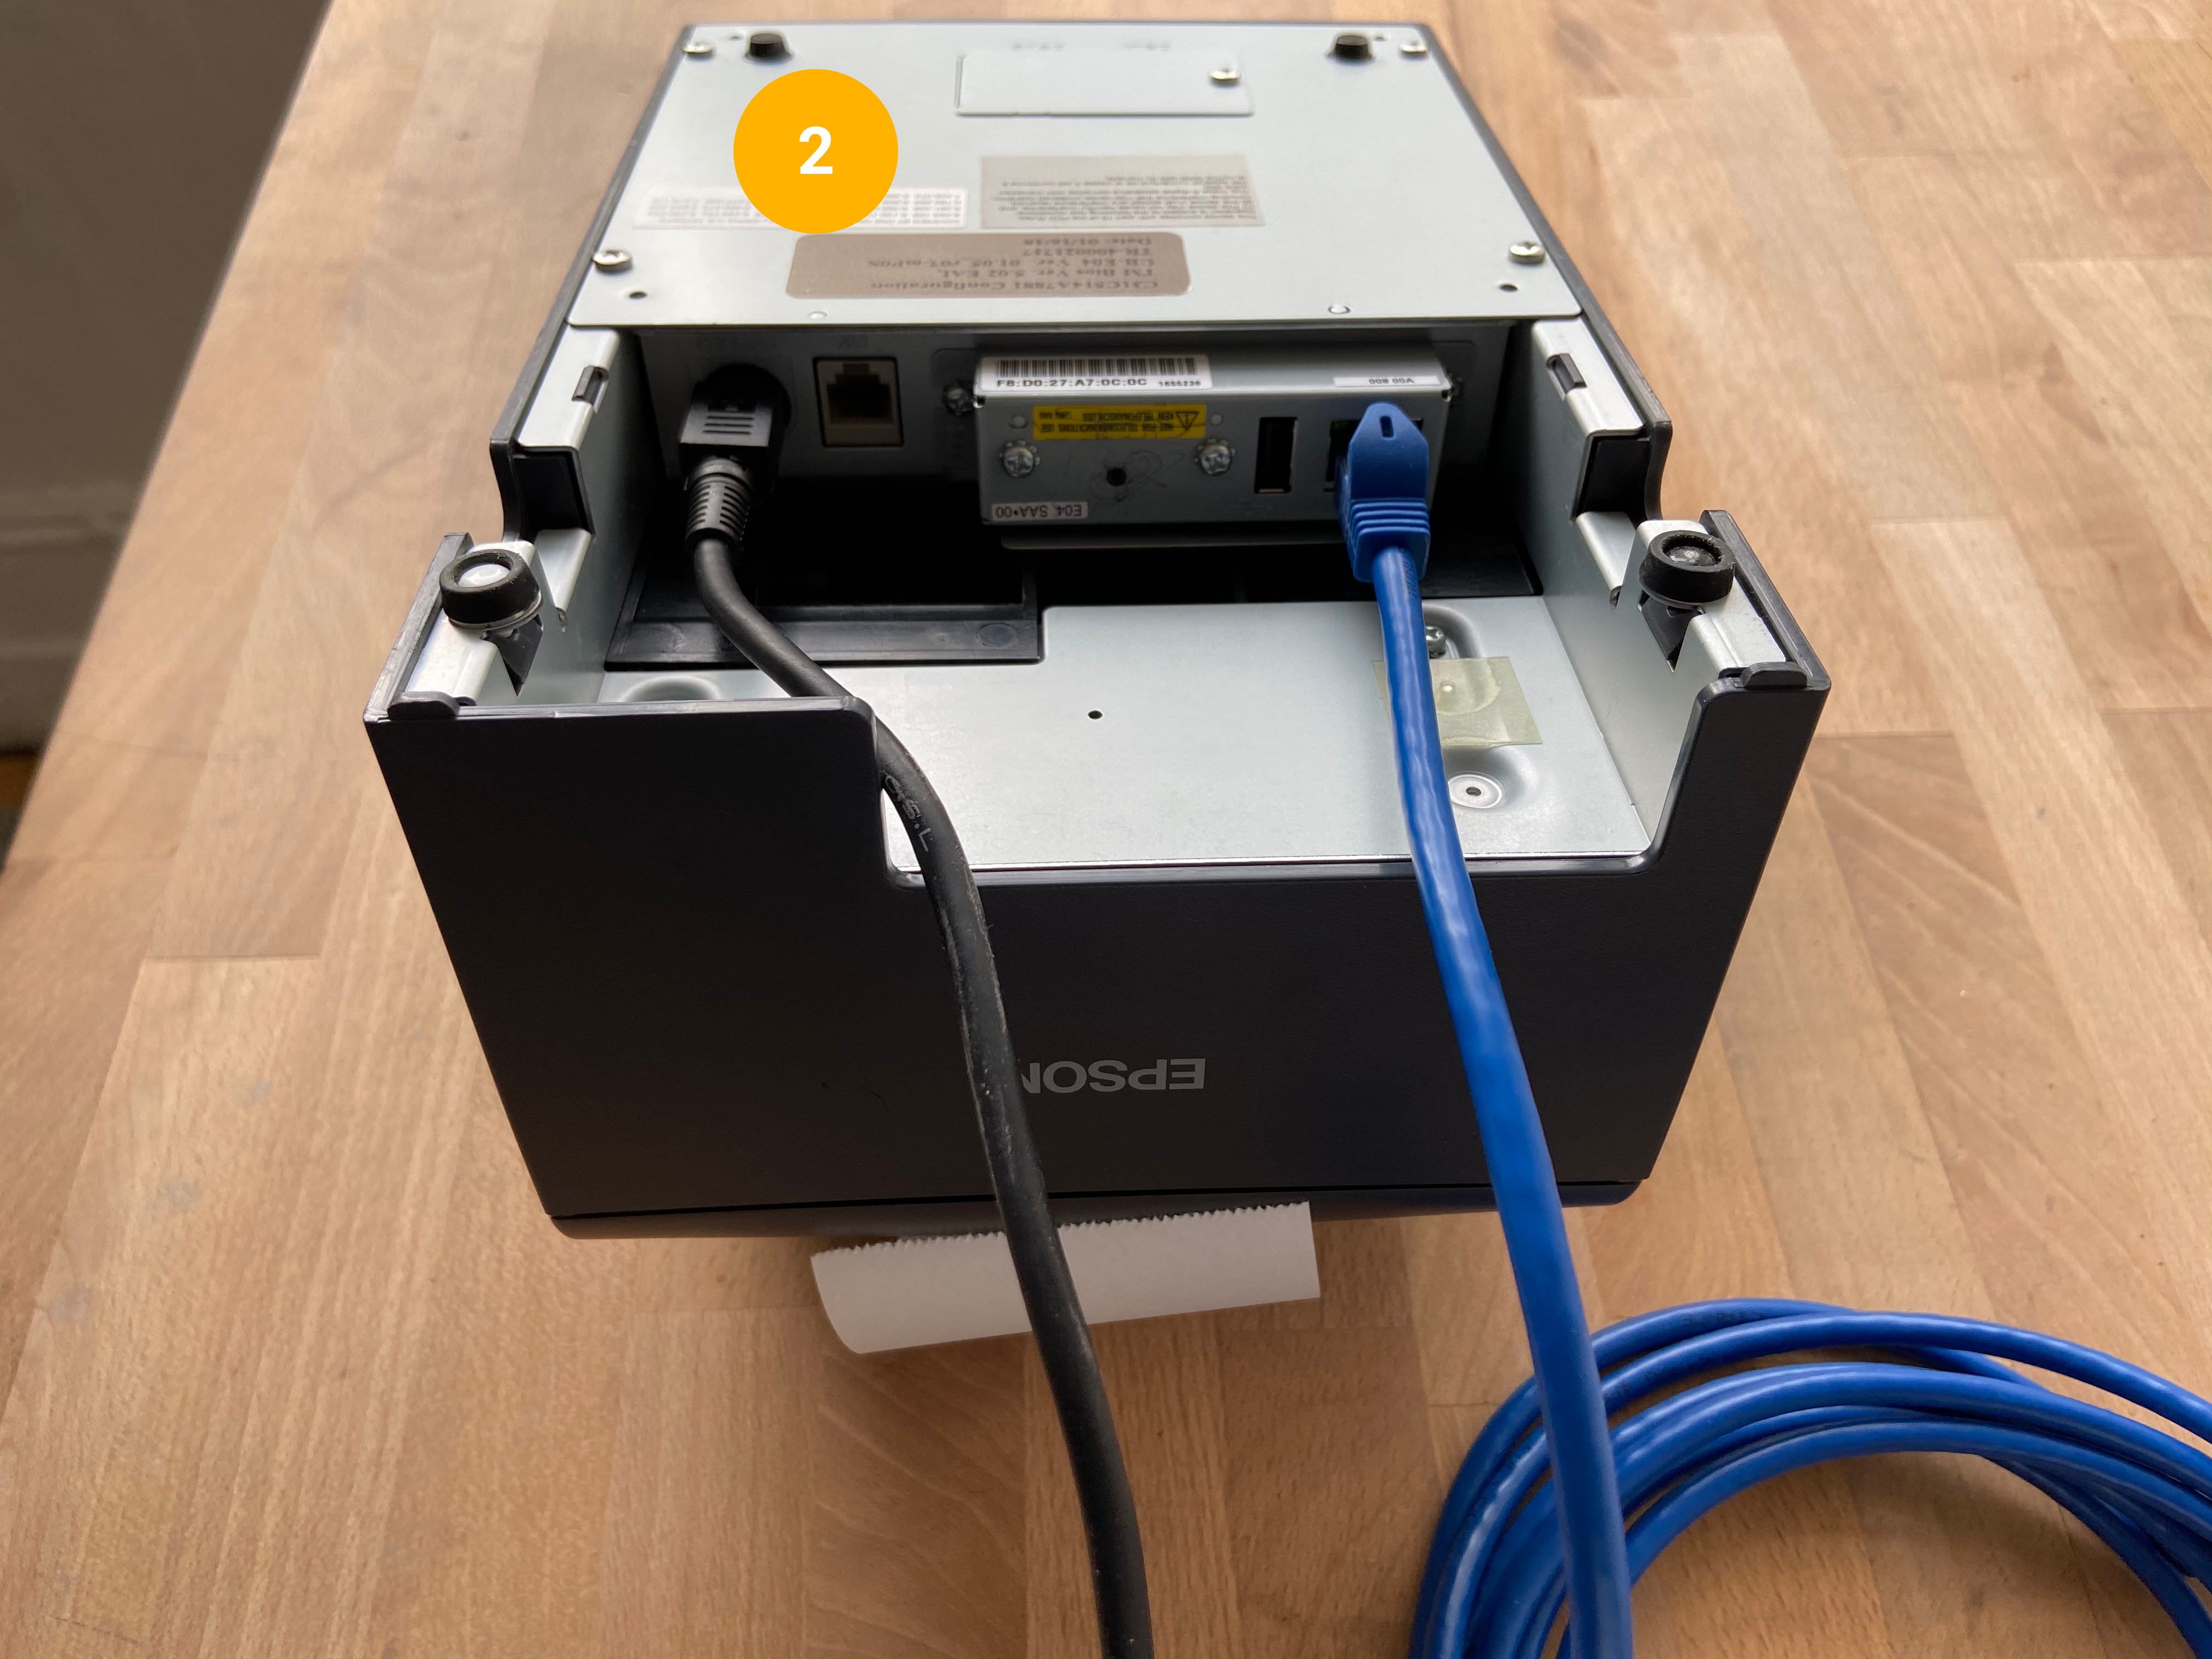
An ethernet cable
NOTE: Many late-model laptops do not have a physical ethernet port. An adapter, such as a Thunderbolt <> Ethernet for Mac, may be required -
An IP address available for use by the printer
NOTE: Every device on a network must have a unique IP address. When in doubt, please contact your Network Management Team with any questions.
Basic Process
-
Factory reset the Epson TM-U220 printer
-
Change the computer’s network settings to allow it to communicate with the printer
Windows or MacOS -
Physically connect the computer to the printer with an ethernet cable
-
Use a web browser to access the printer’s configuration interface and set a configuration to the printer
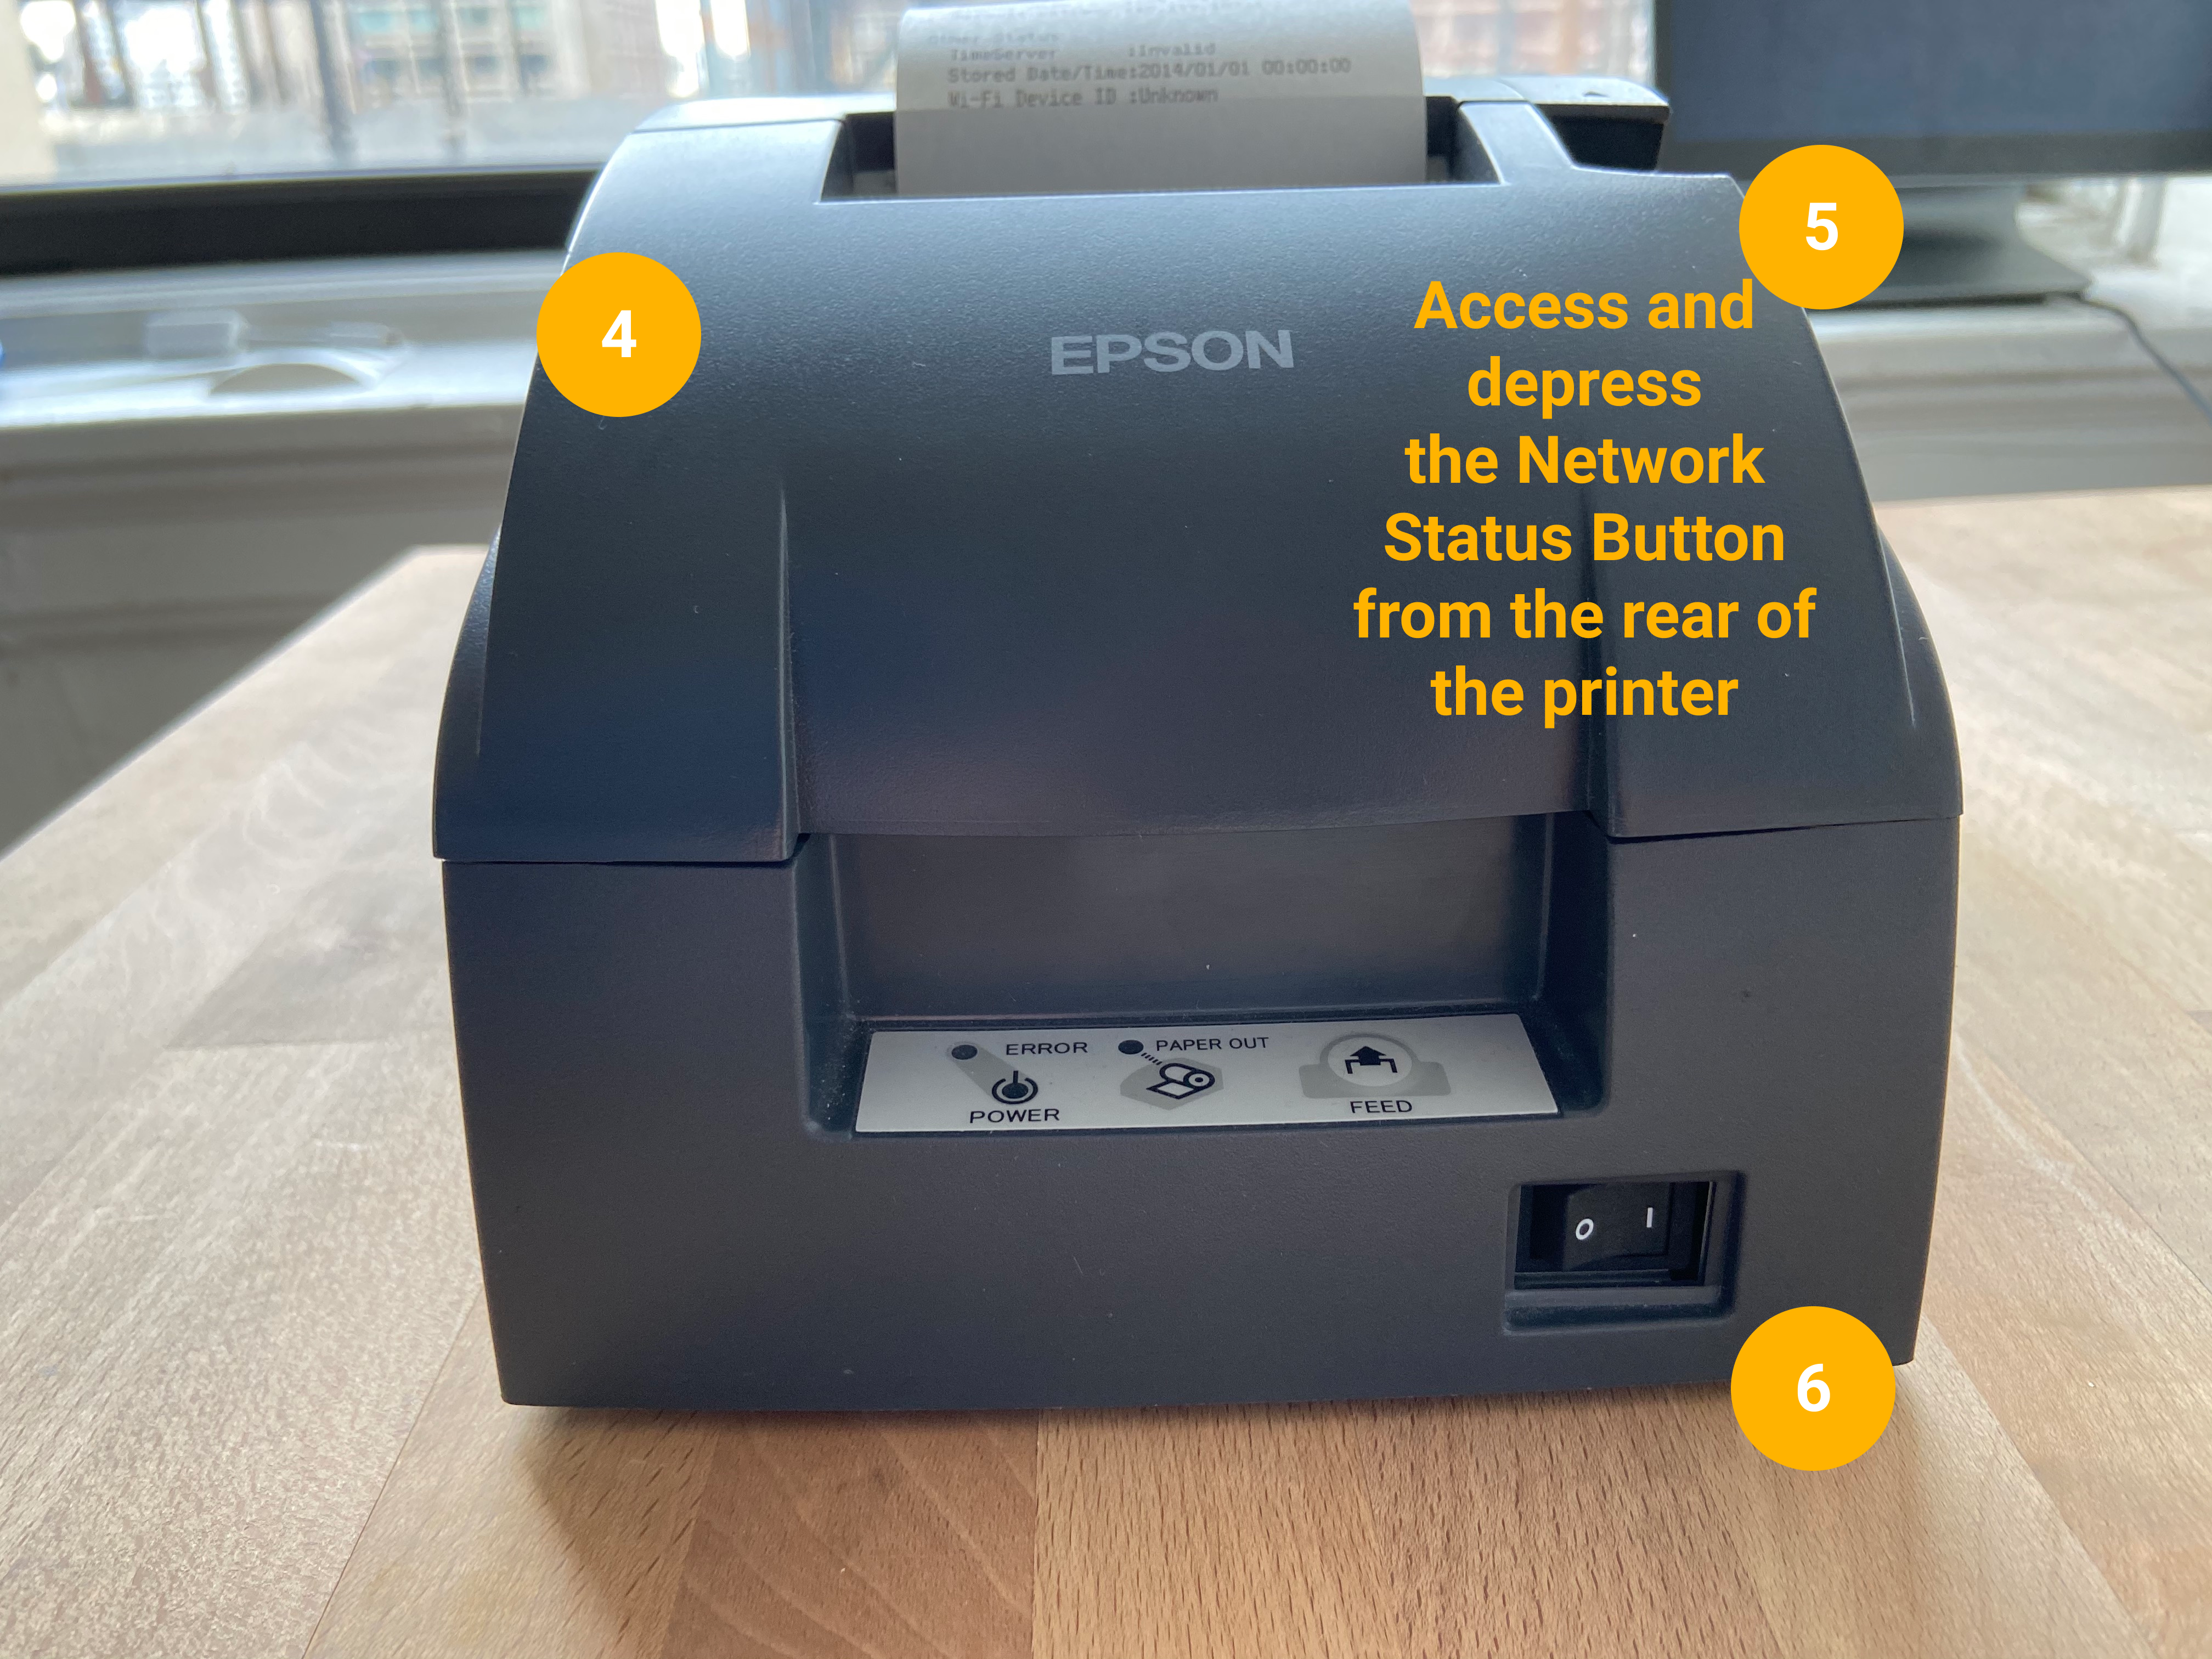
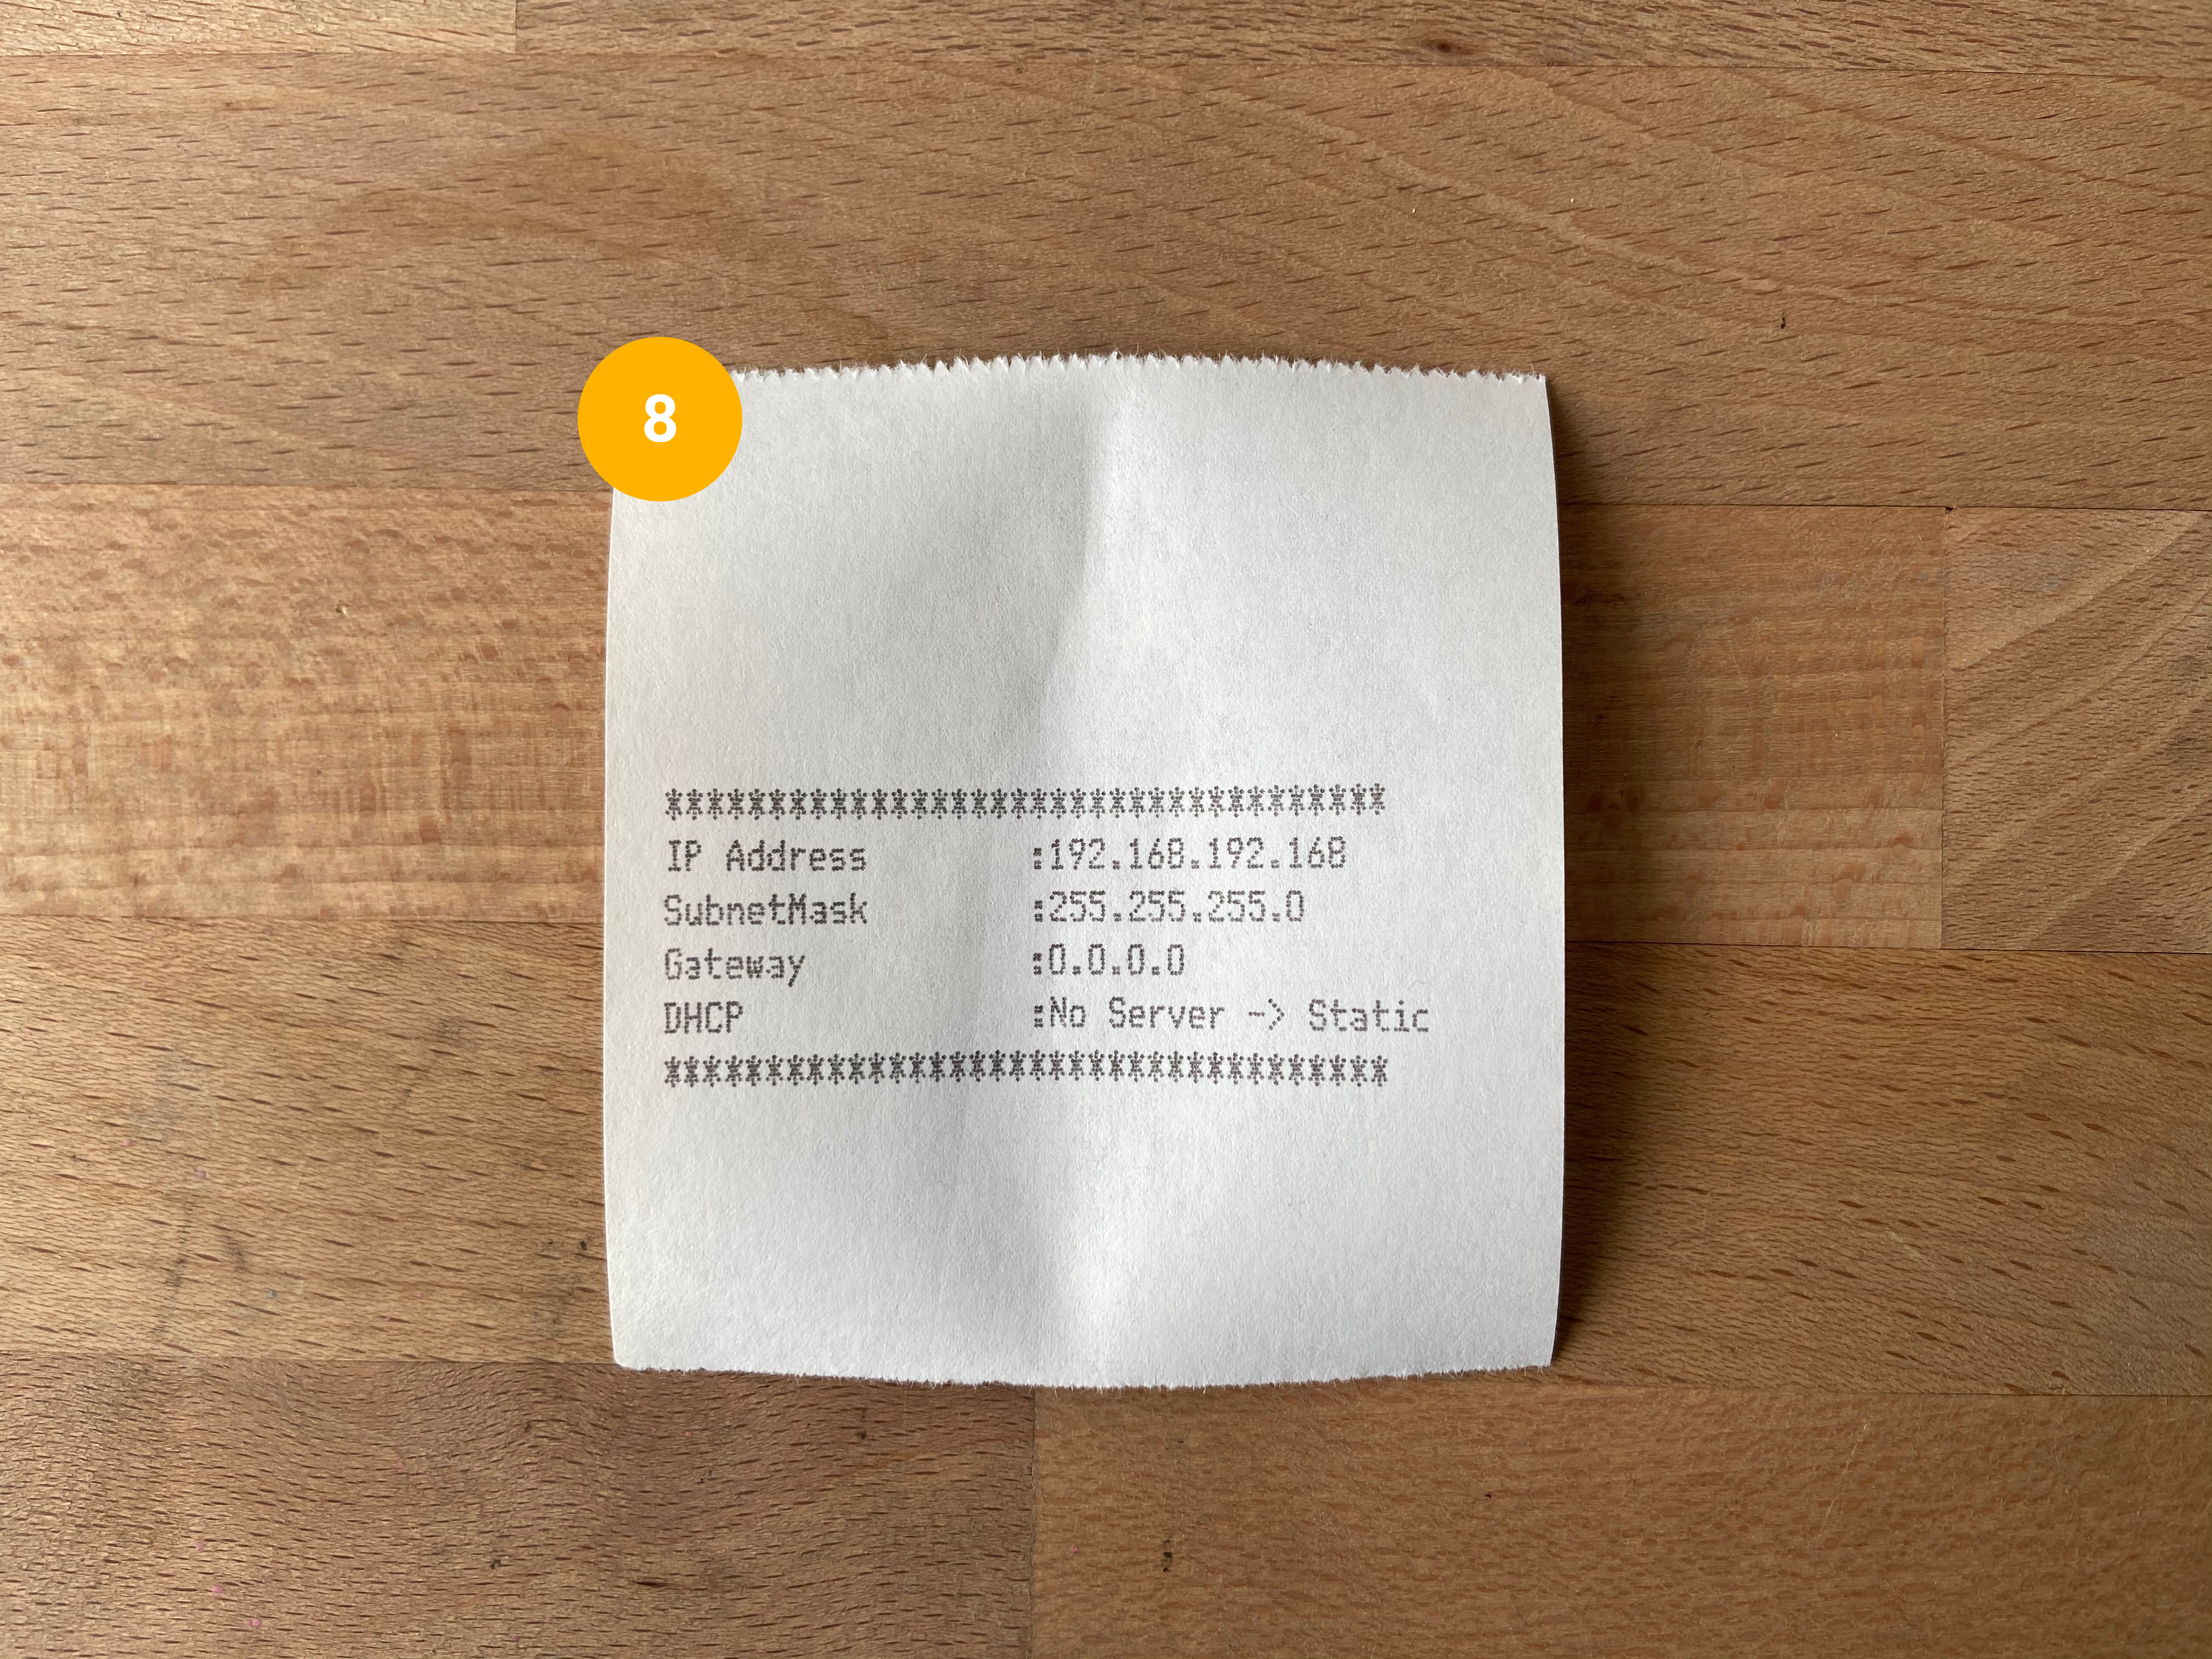
Factory Reset the Epson TM-U220 printer
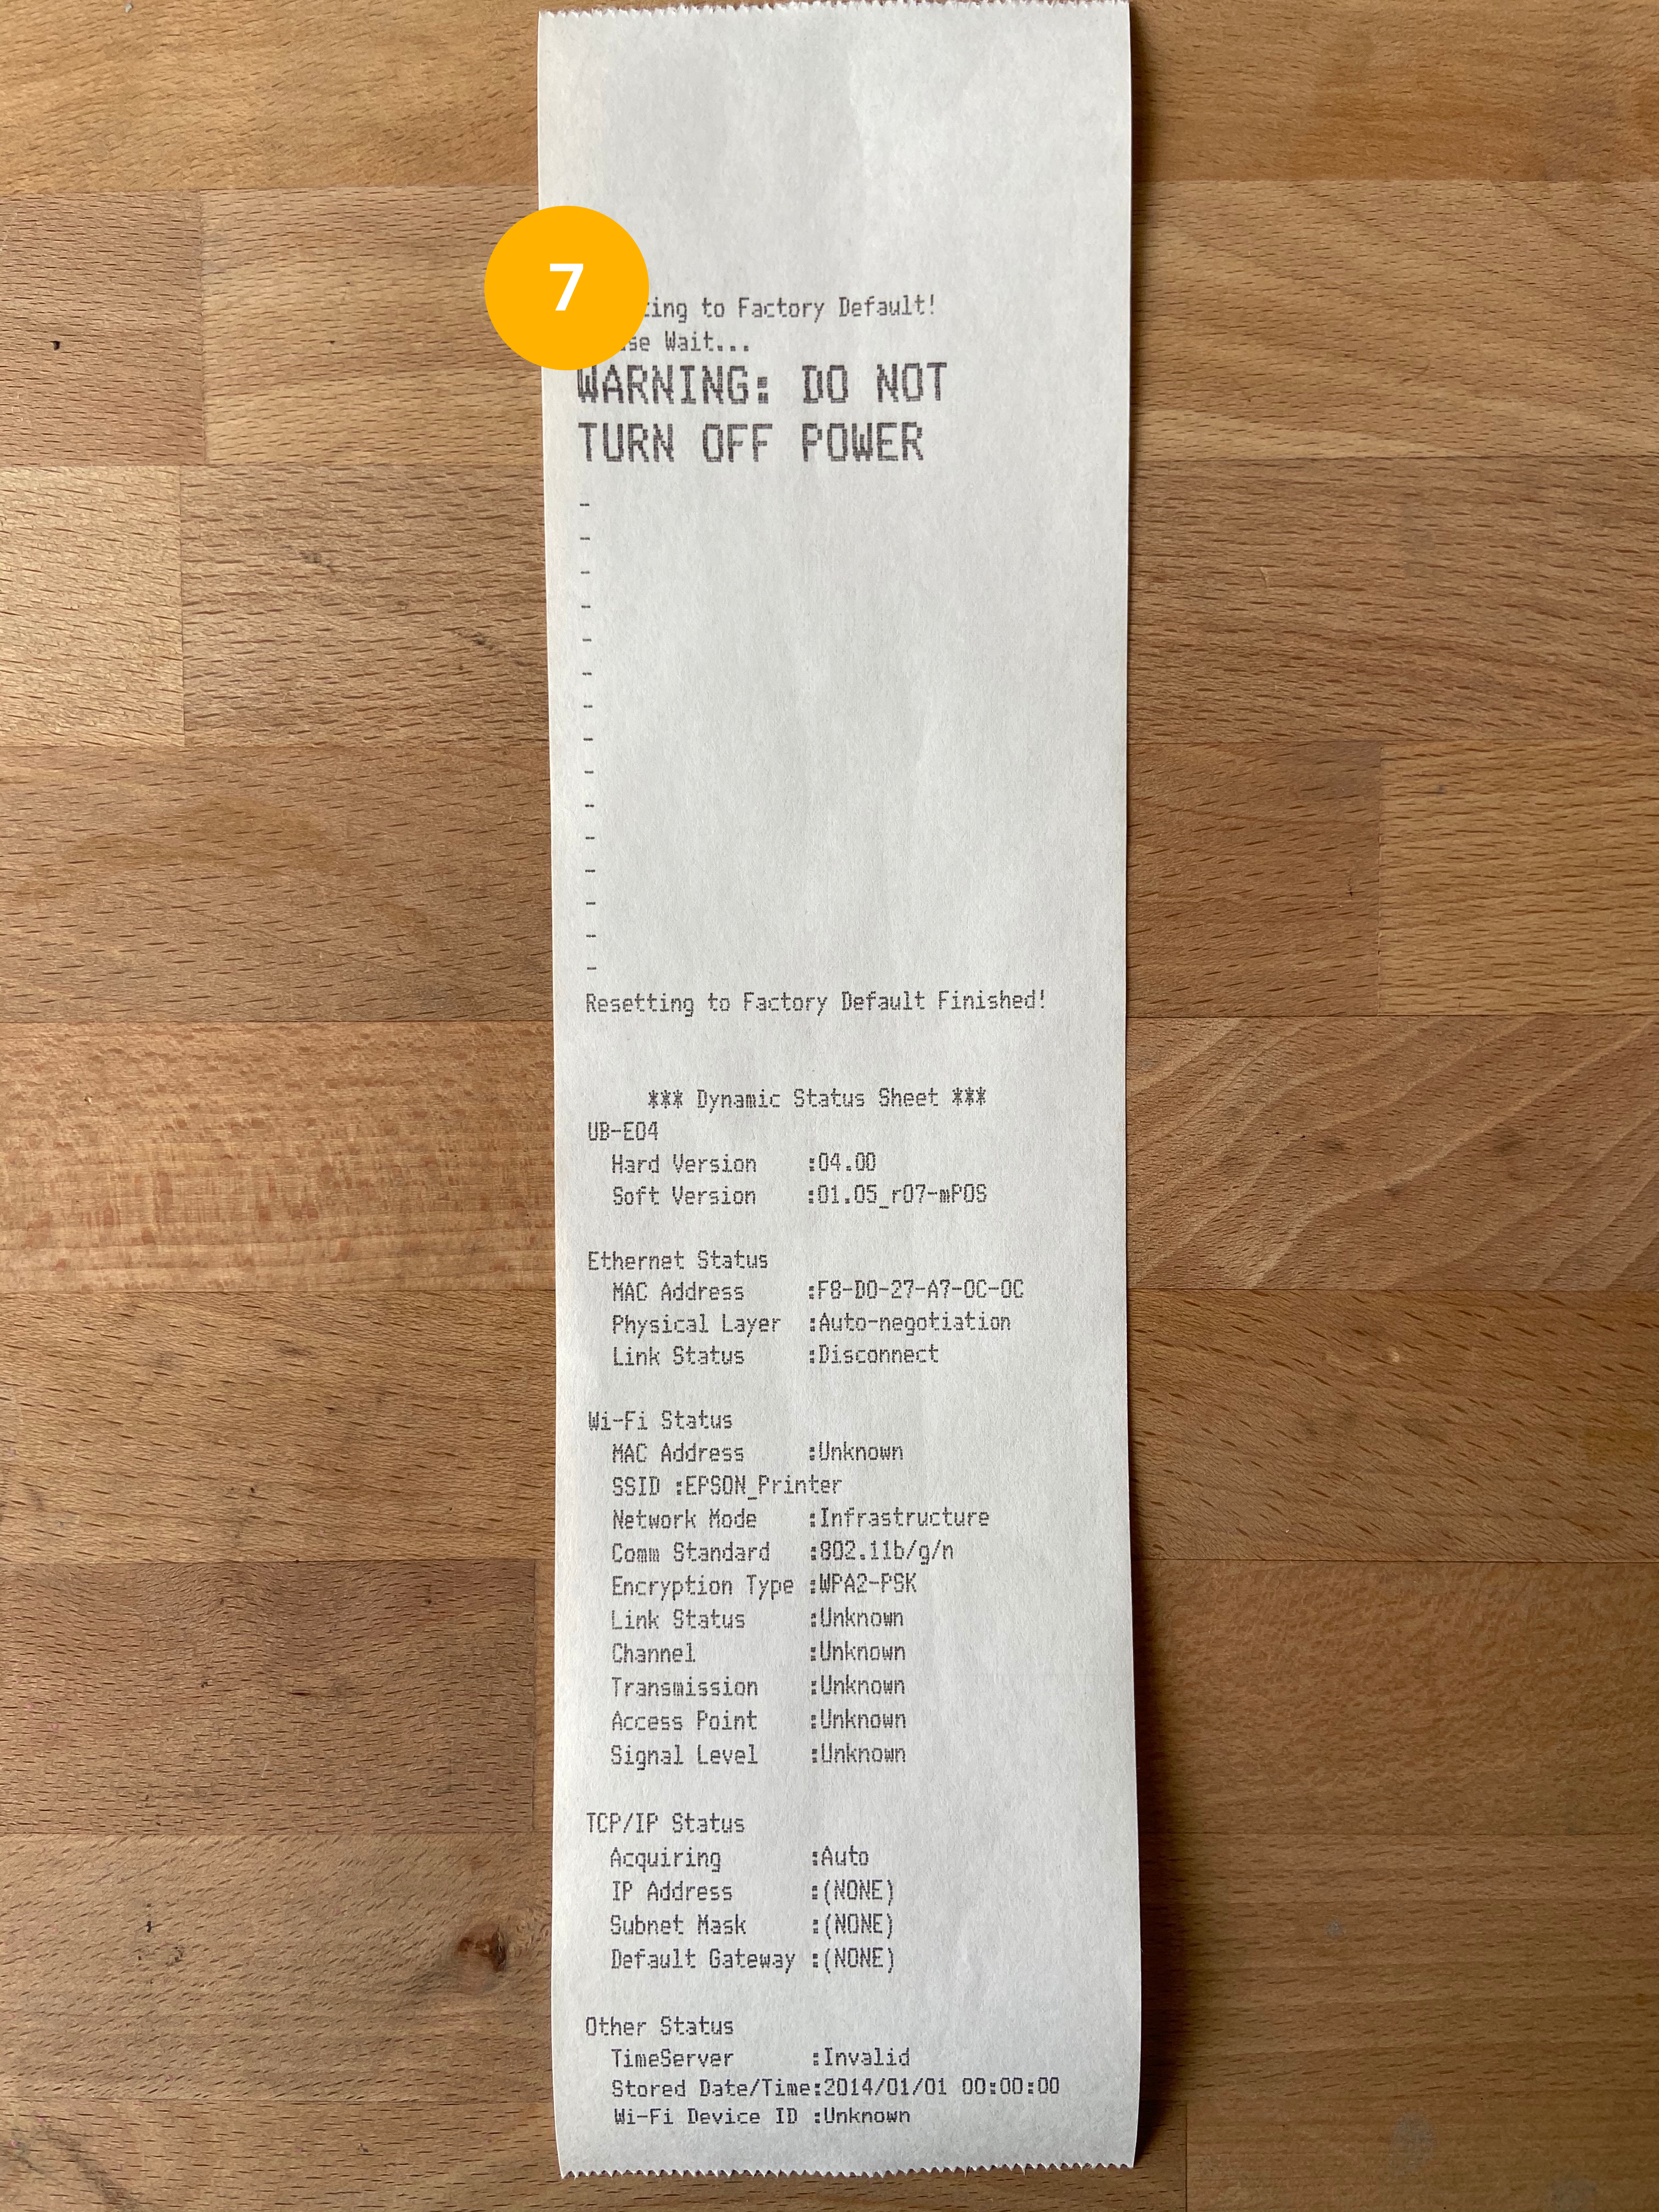
It’s always best to start from a clean slate. Reset the printer to factory defaults to wipe any existing configurations.
|
|
|
|
|
|
|
|
|
|
|
|

Assign a static IP address to a computer
IMPORTANT! Please make a note of your current network settings before making changes. The changes made during the configuration process will need to be undone in order to restore normal connectivity.
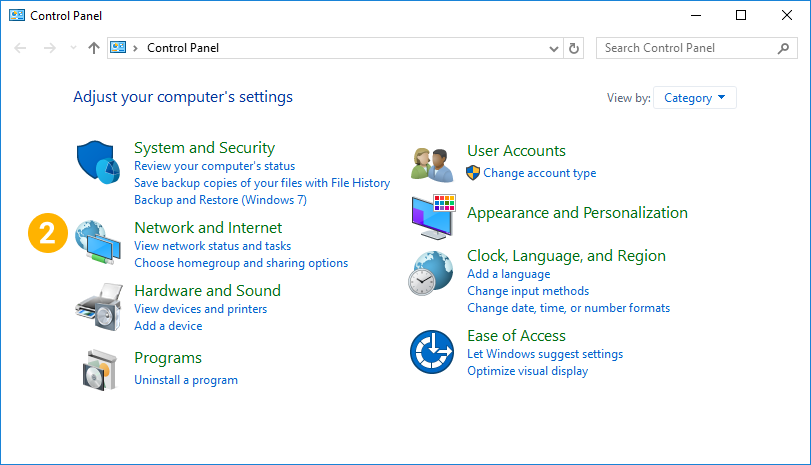
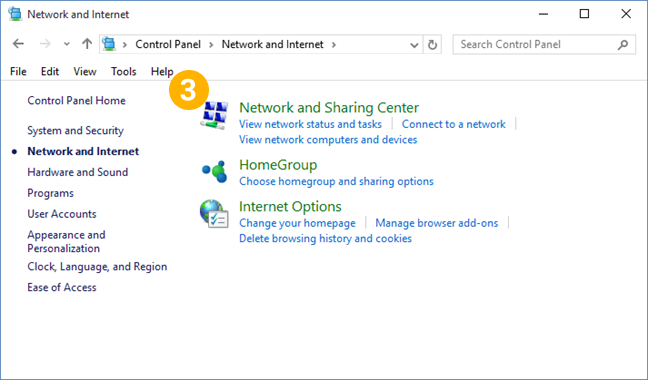
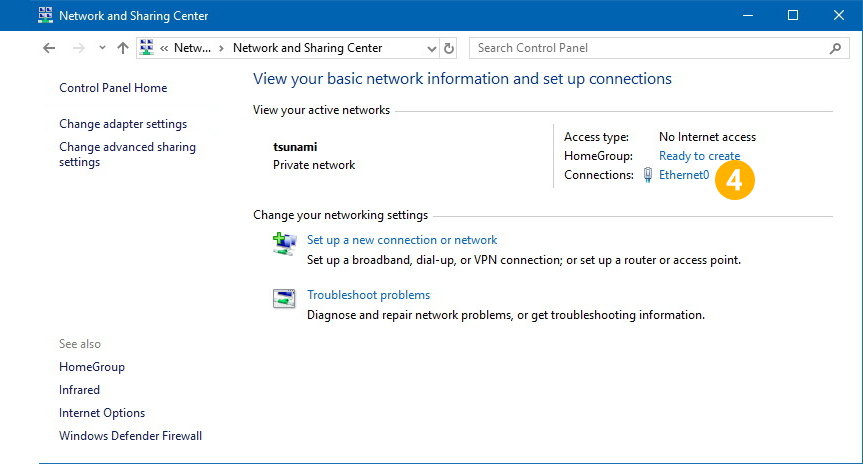
For Windows
Use the Control Panel to change the IP settings of a Windows computer.
|
|
|
|
|
|
|
|
|
|
|
|
|
Proceed to Set a network configuration to the Printer |
|


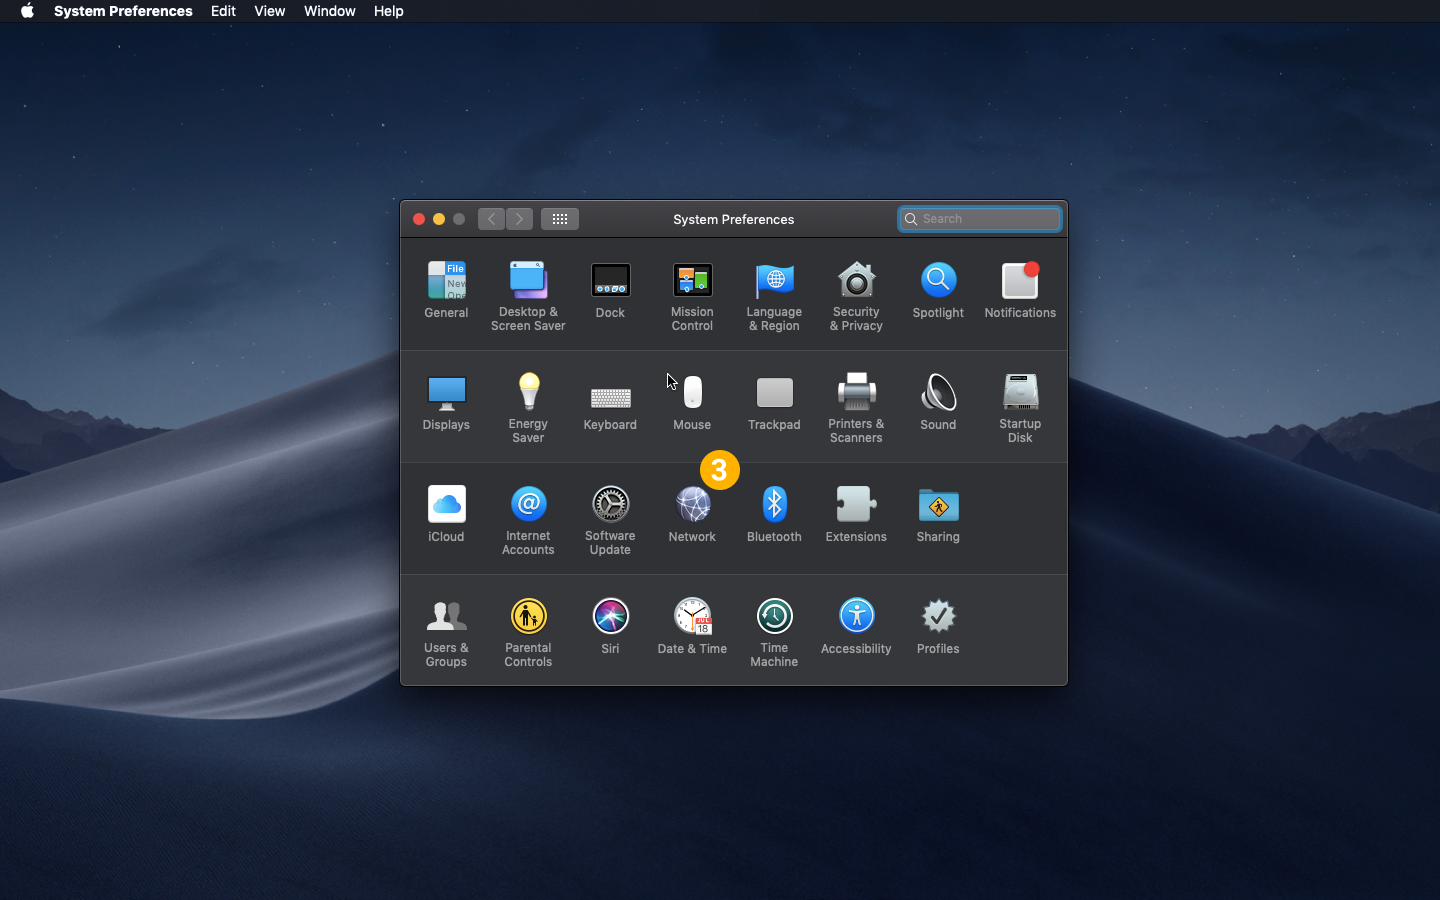
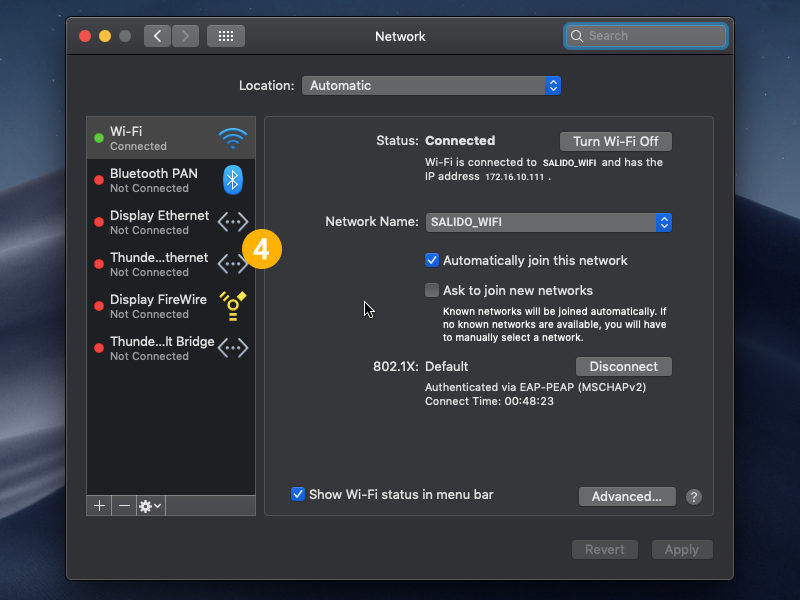
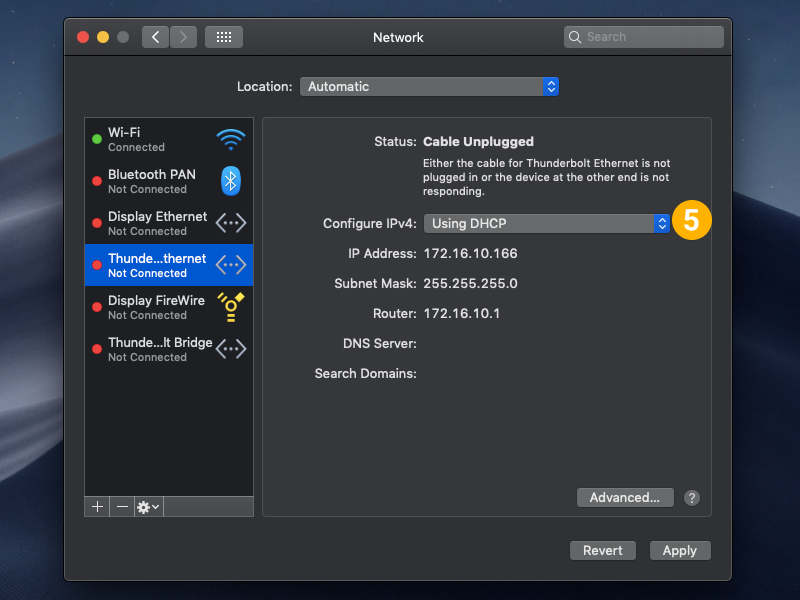
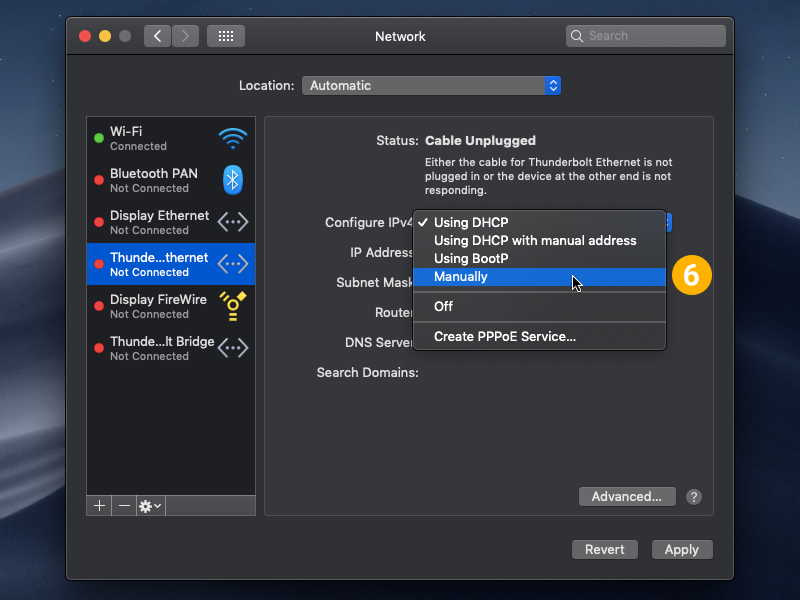
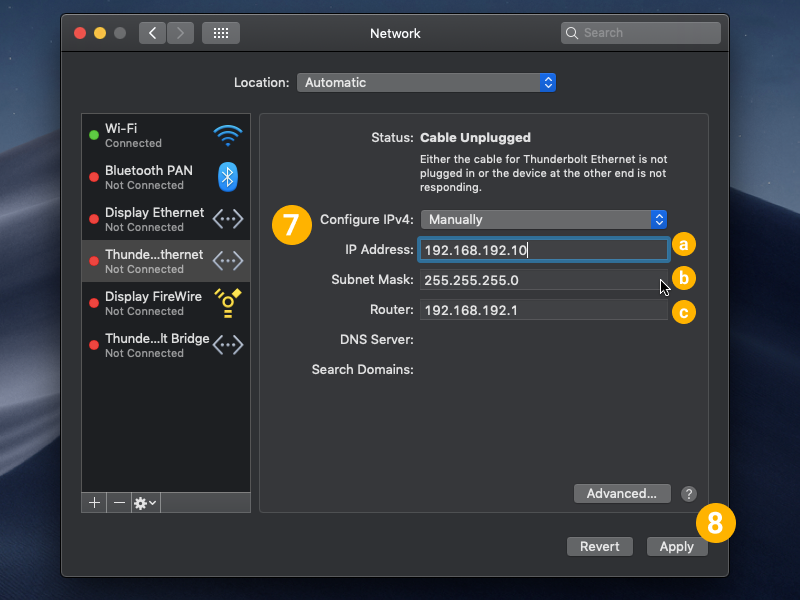
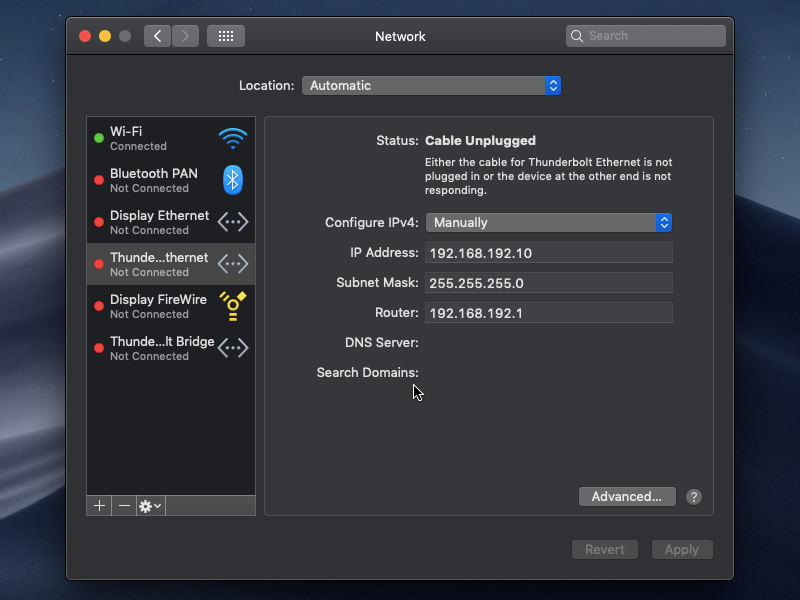
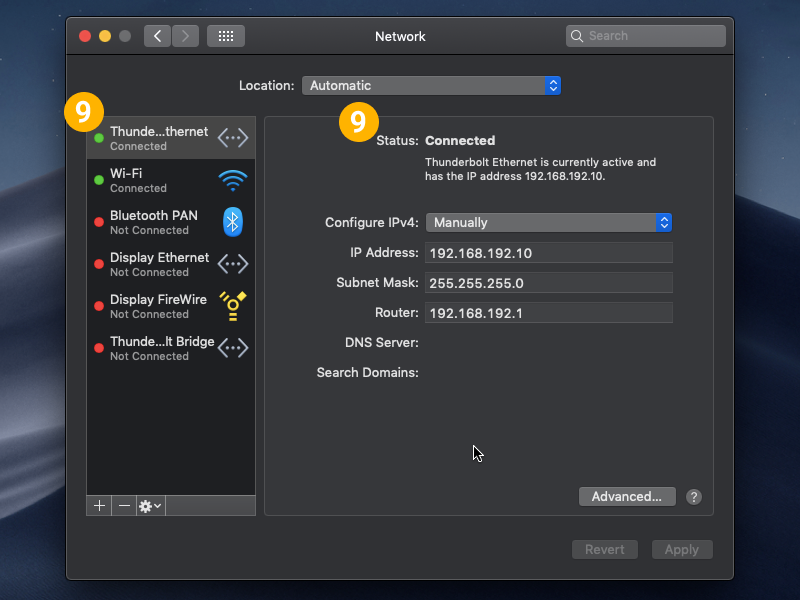
For MacOS
Use Network Preferences to change the IP configuration of a MacOS computer.
|
|
|
|
|
|
|
|
|
|
|
|
|
|
|
|
|
|
|
Proceed to Set a network configuration to the Printer |
|

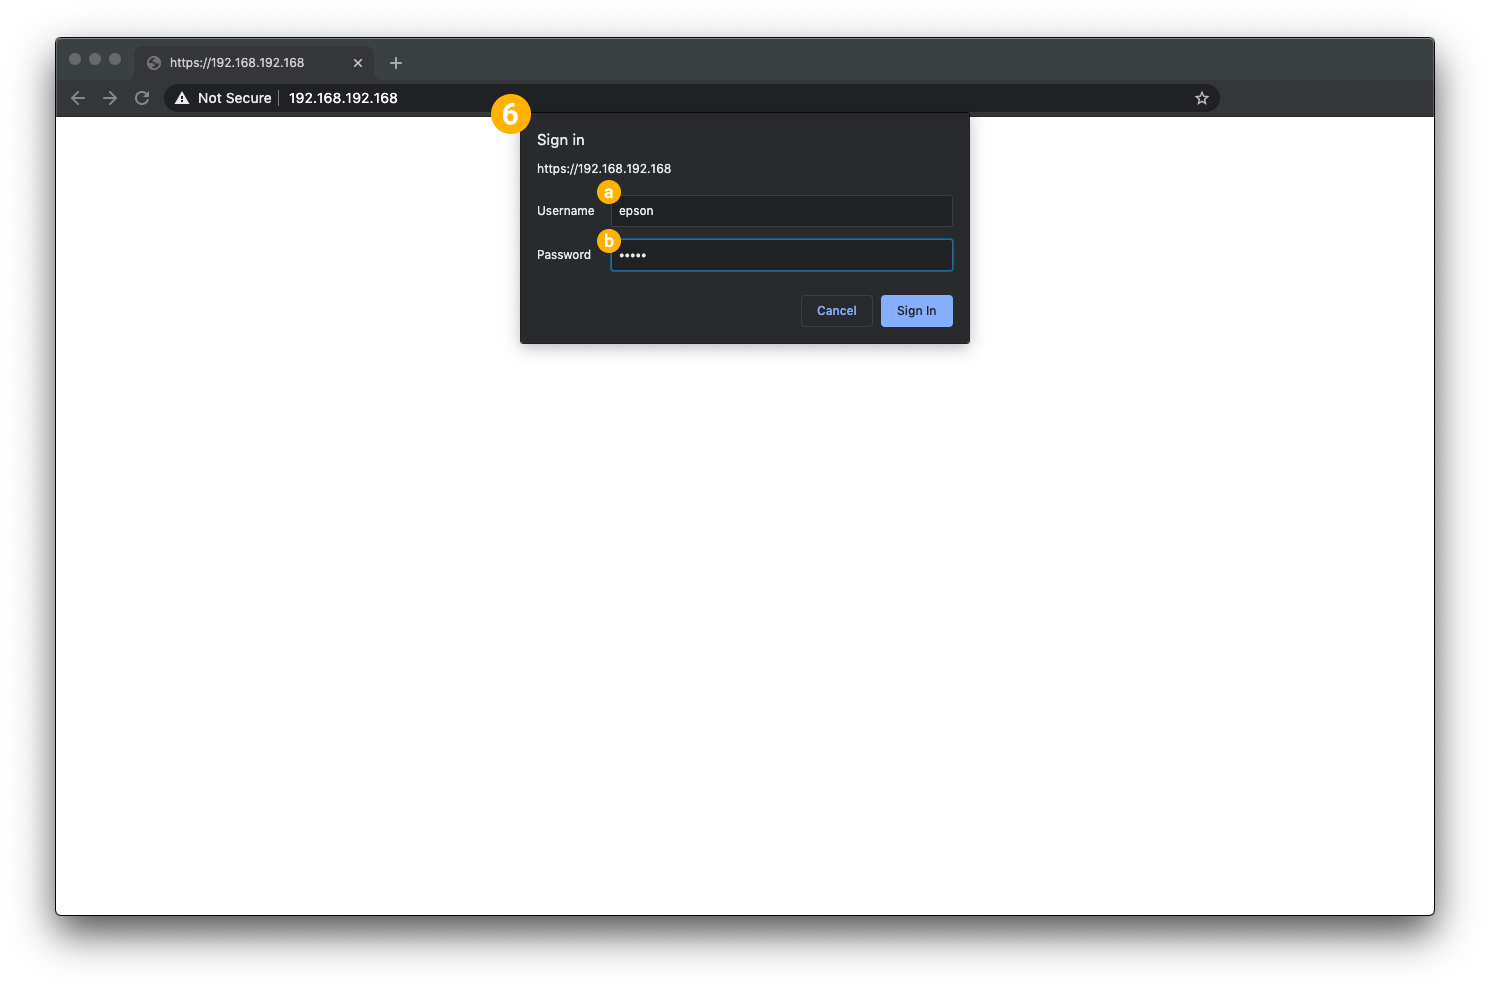
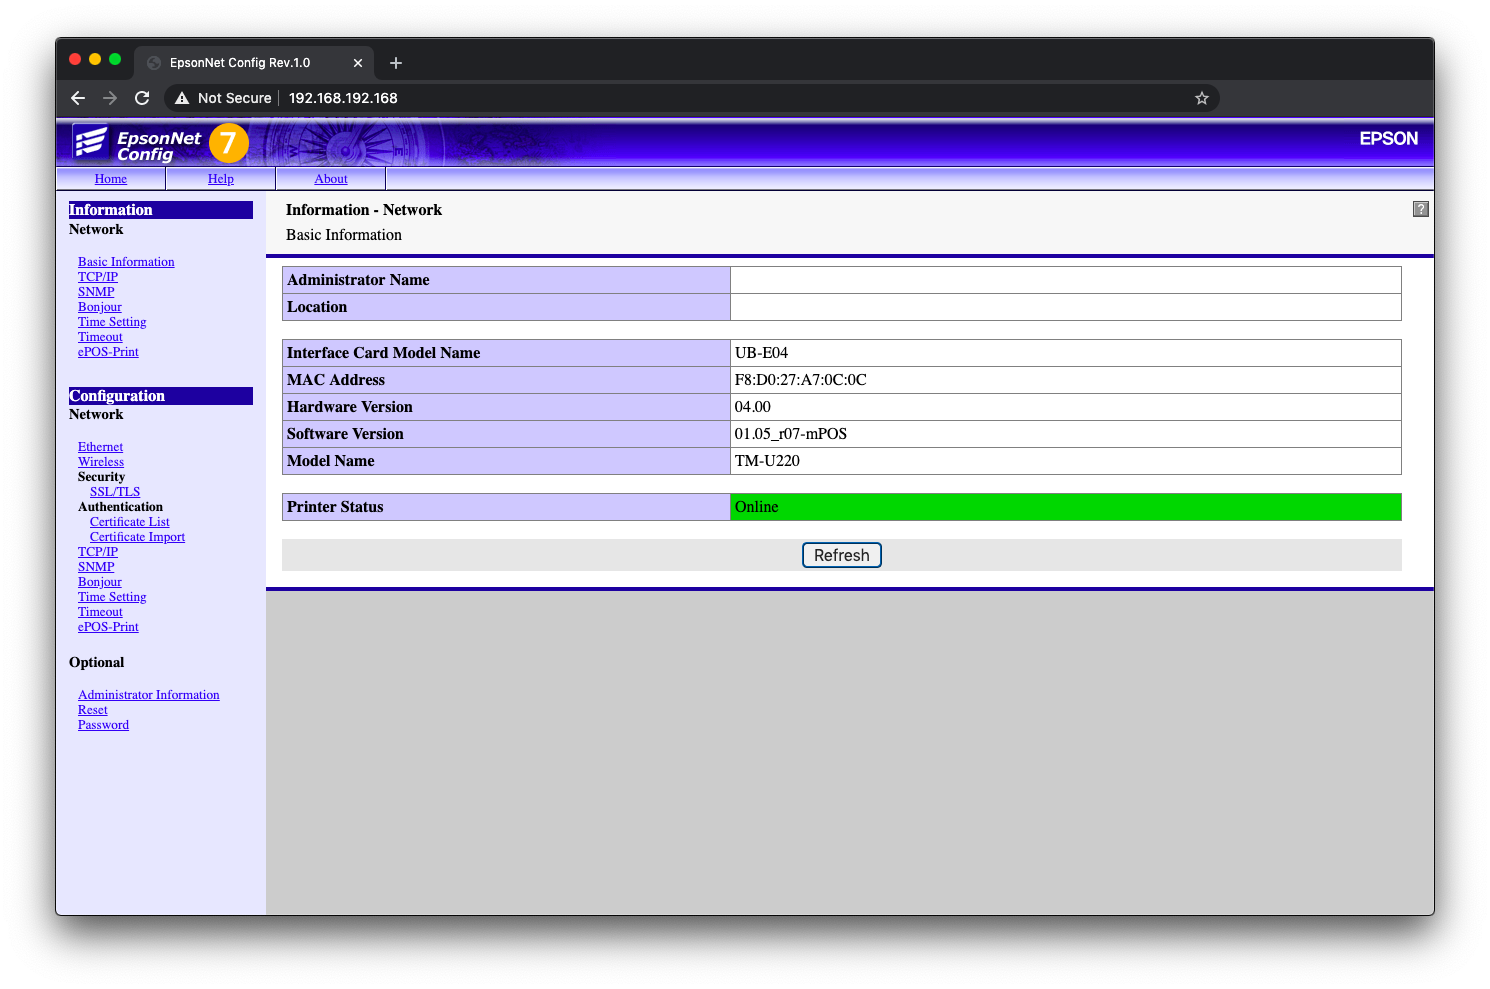
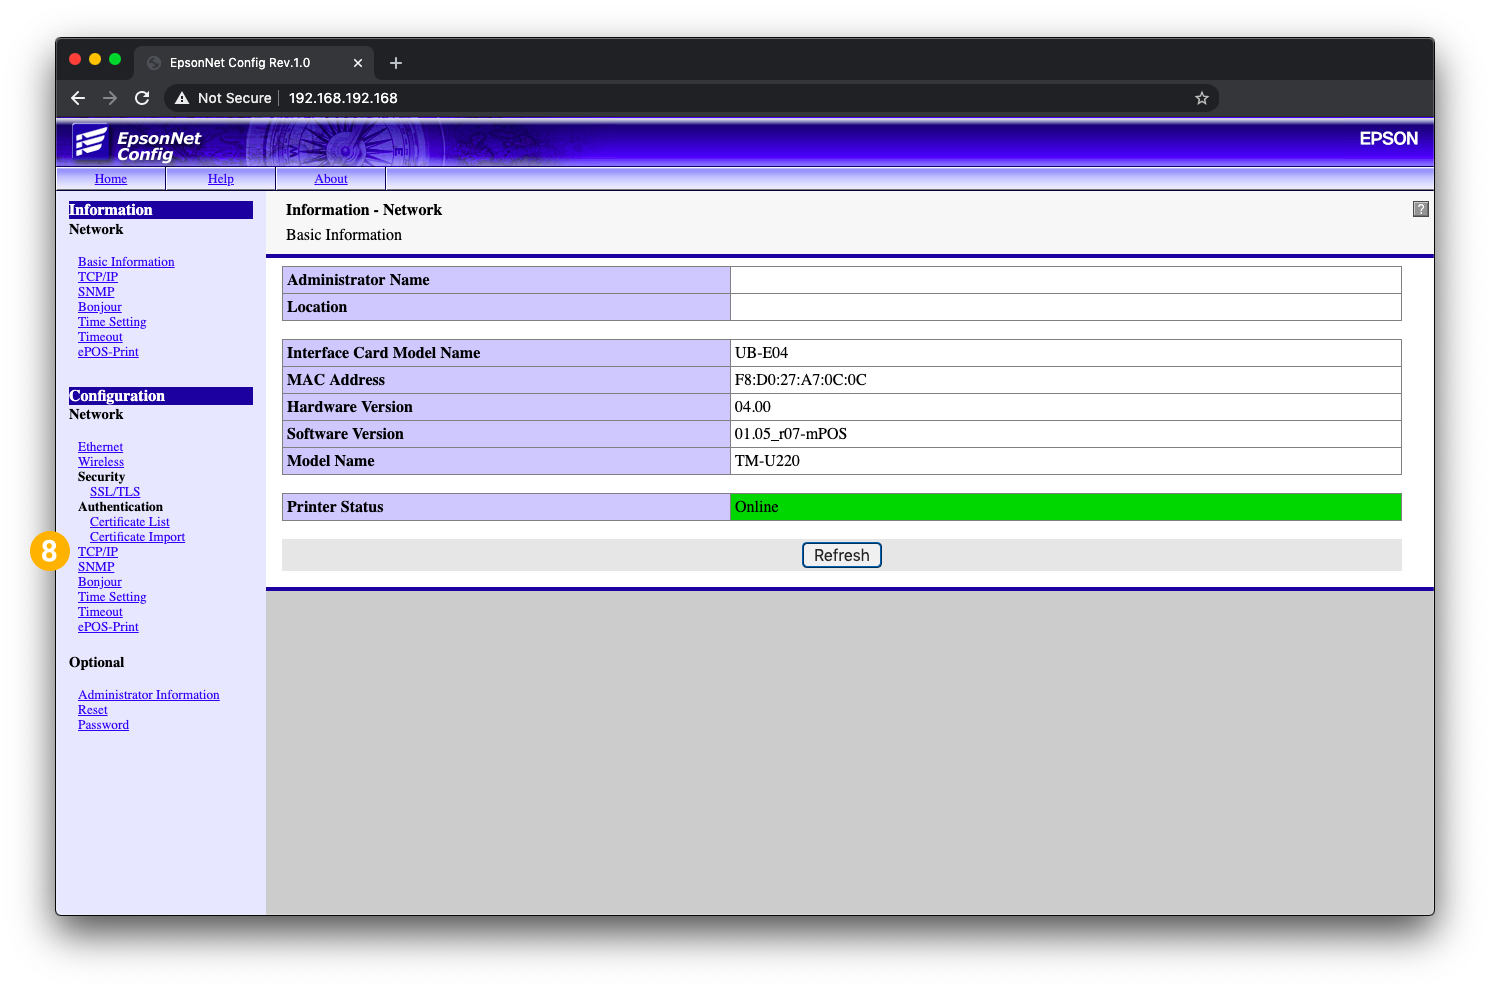
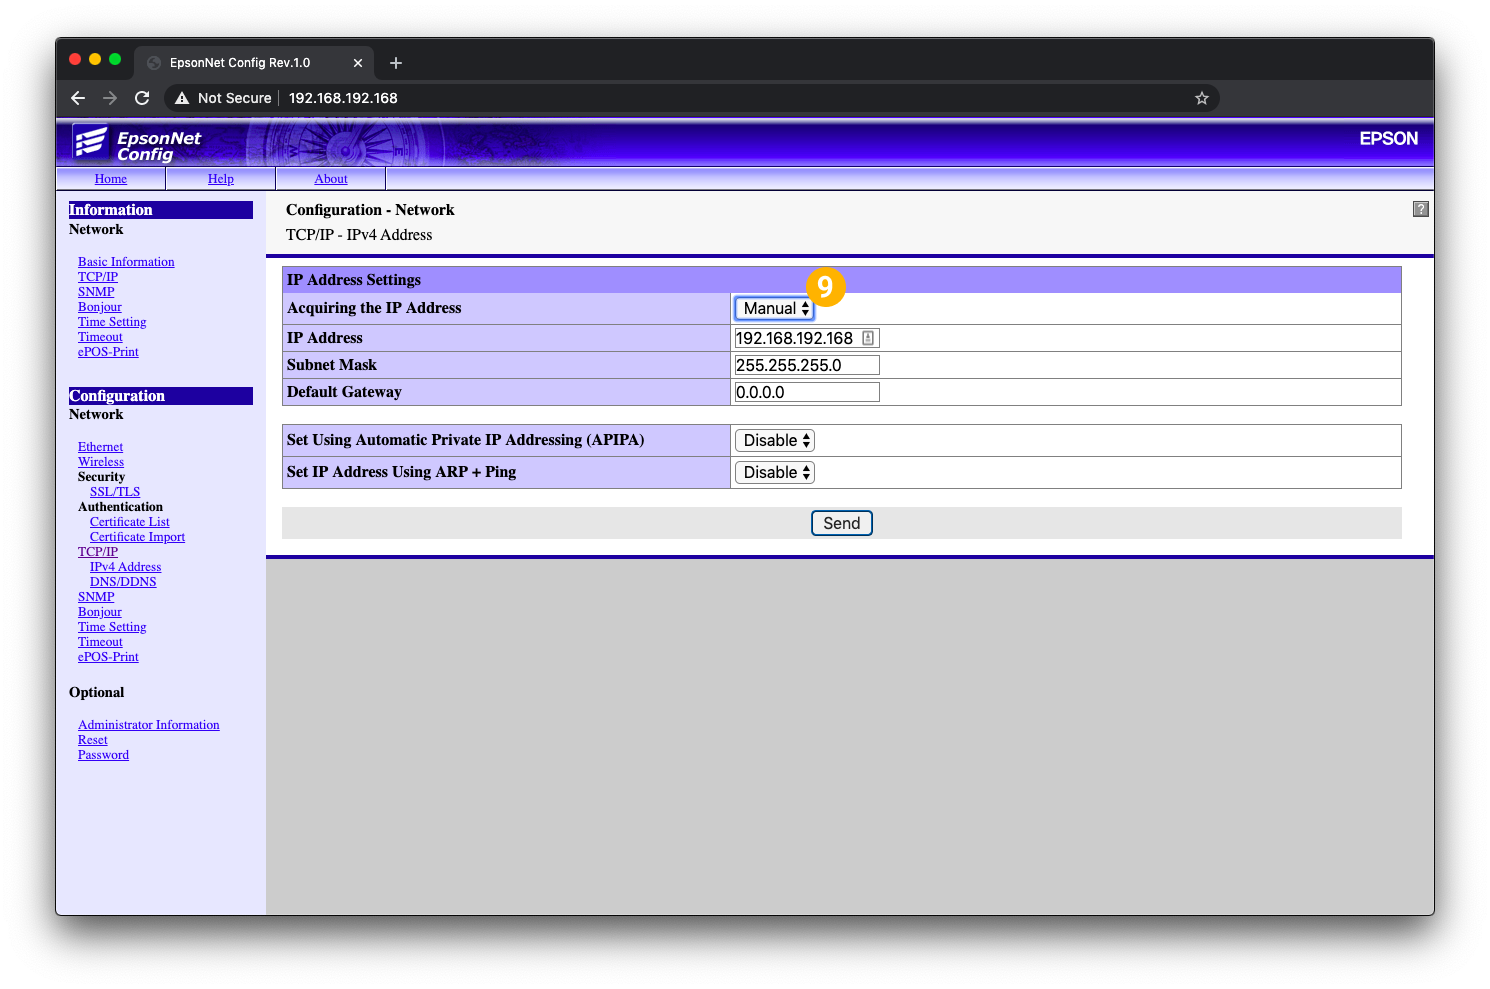
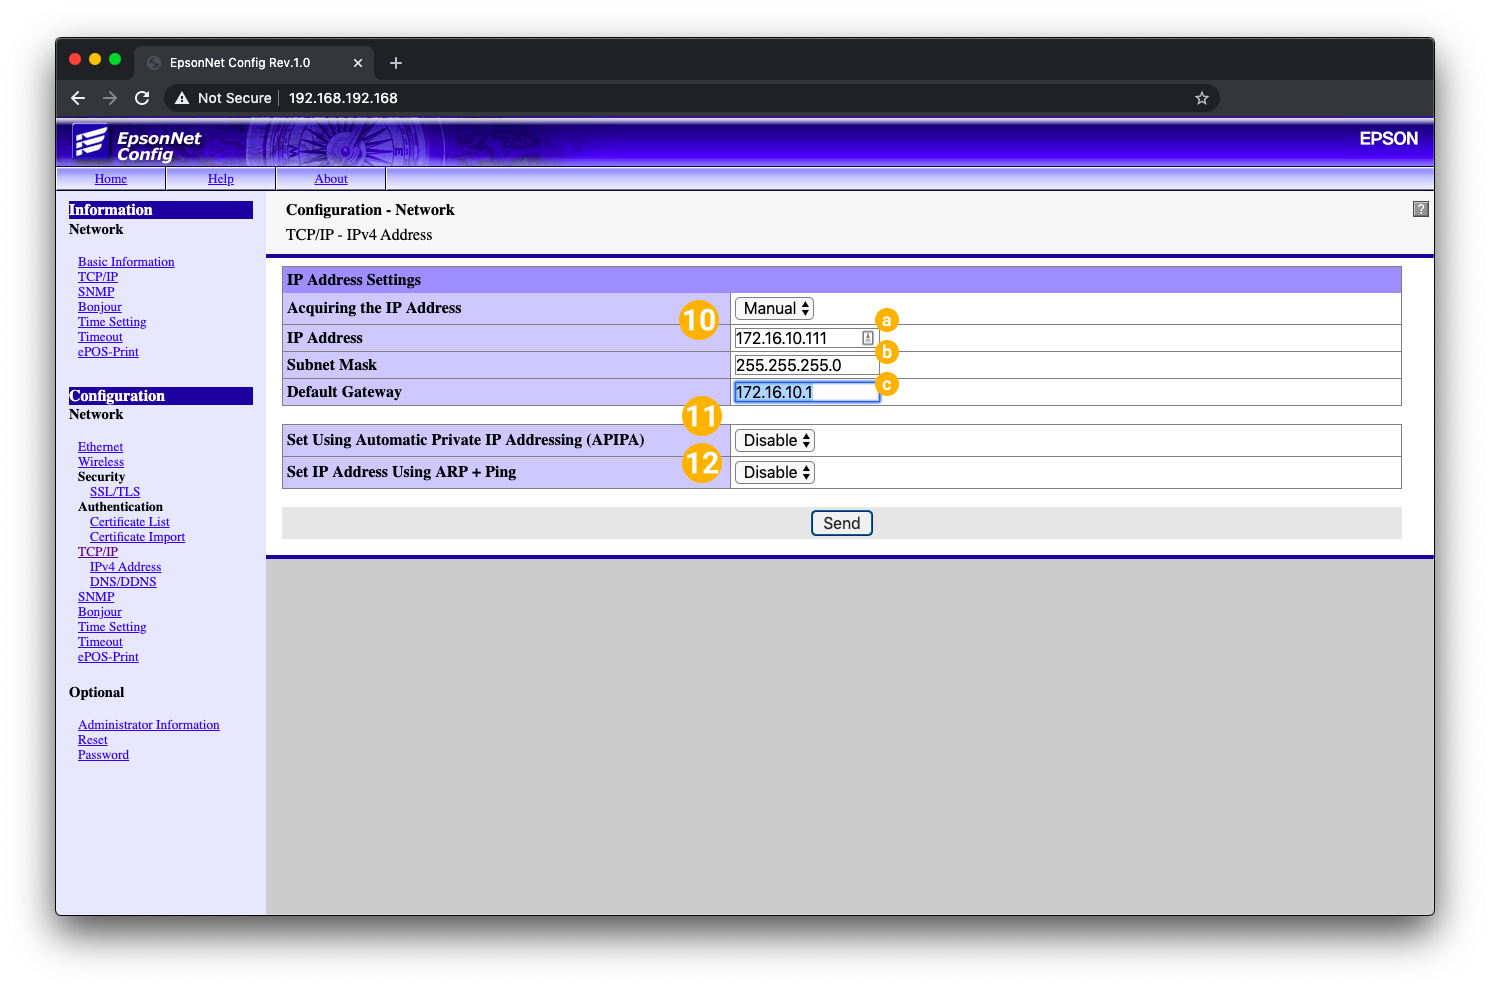
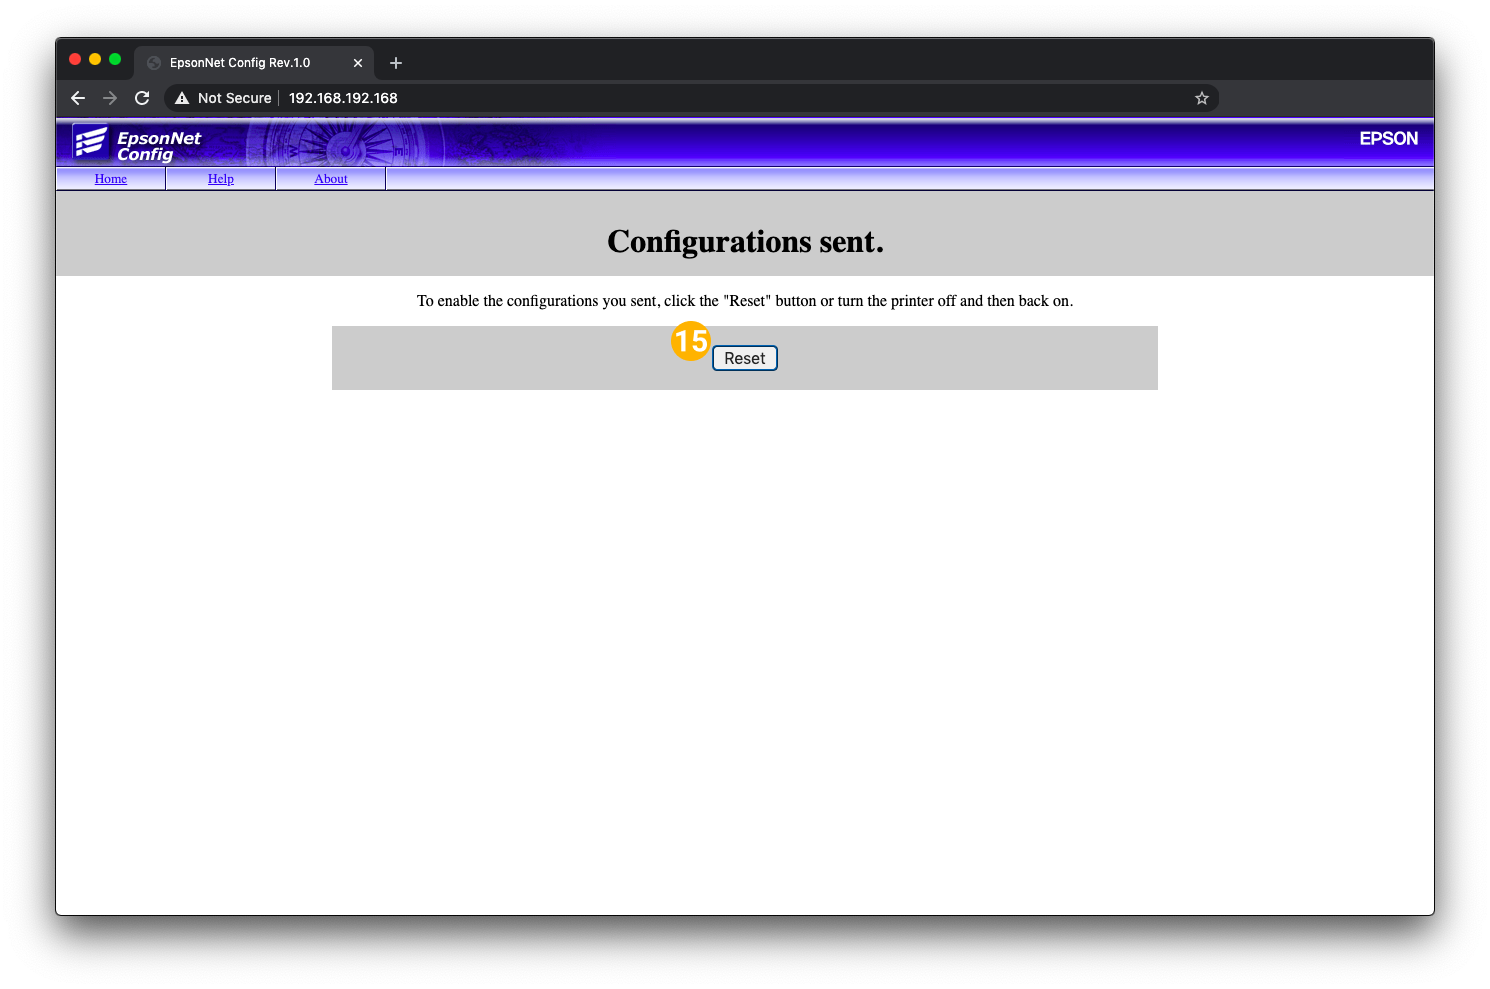
Set a network configuration to the Printer
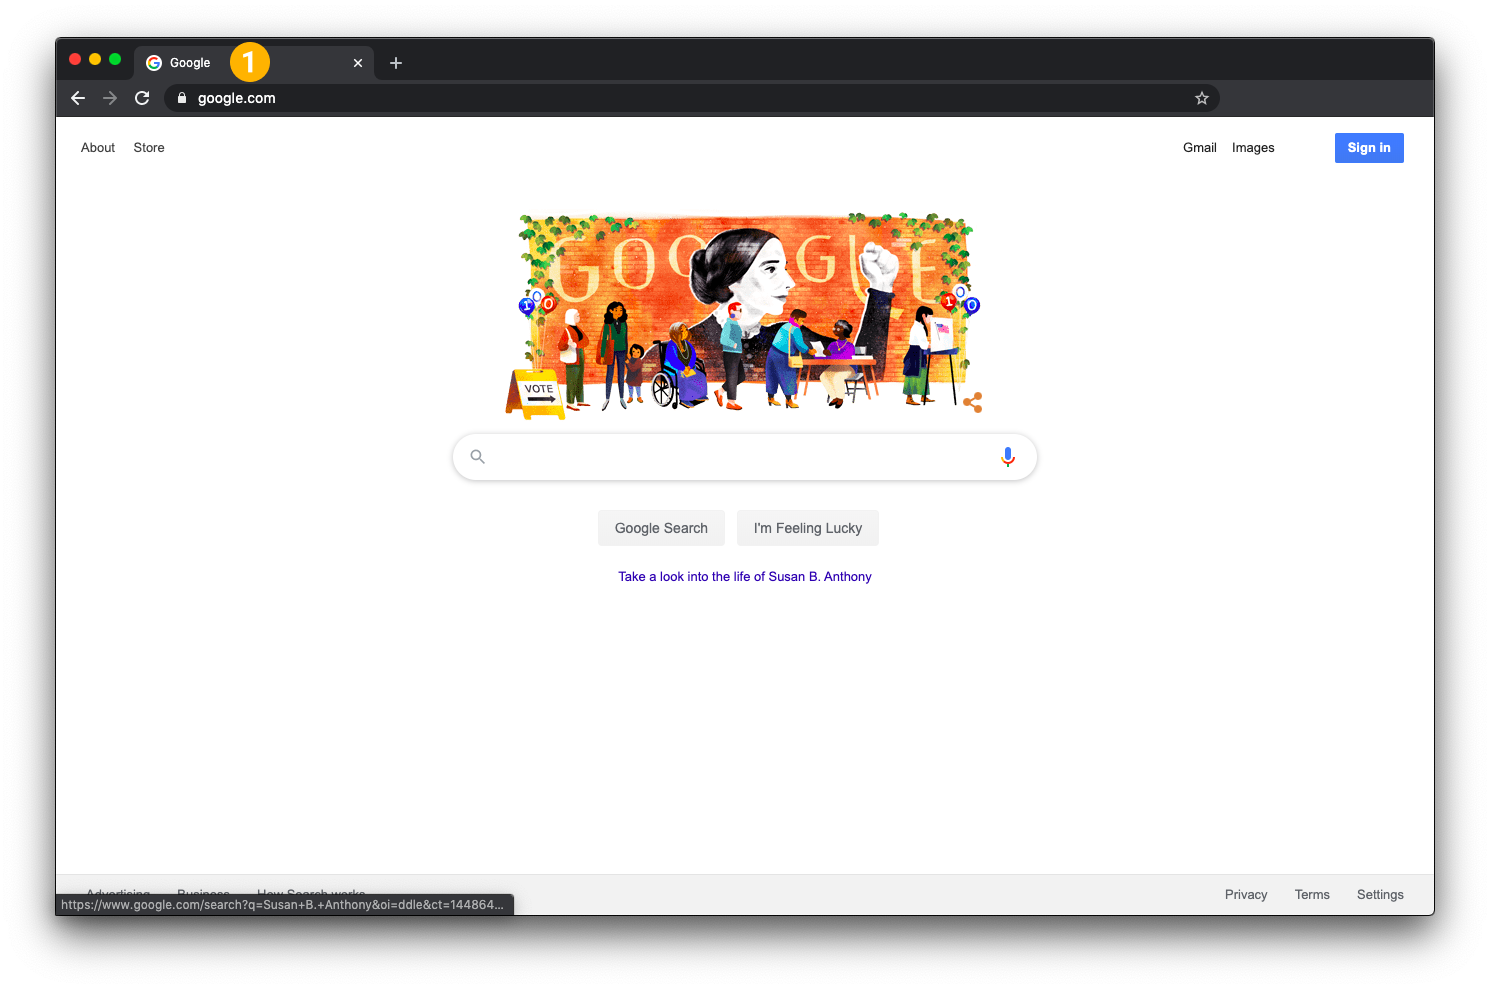
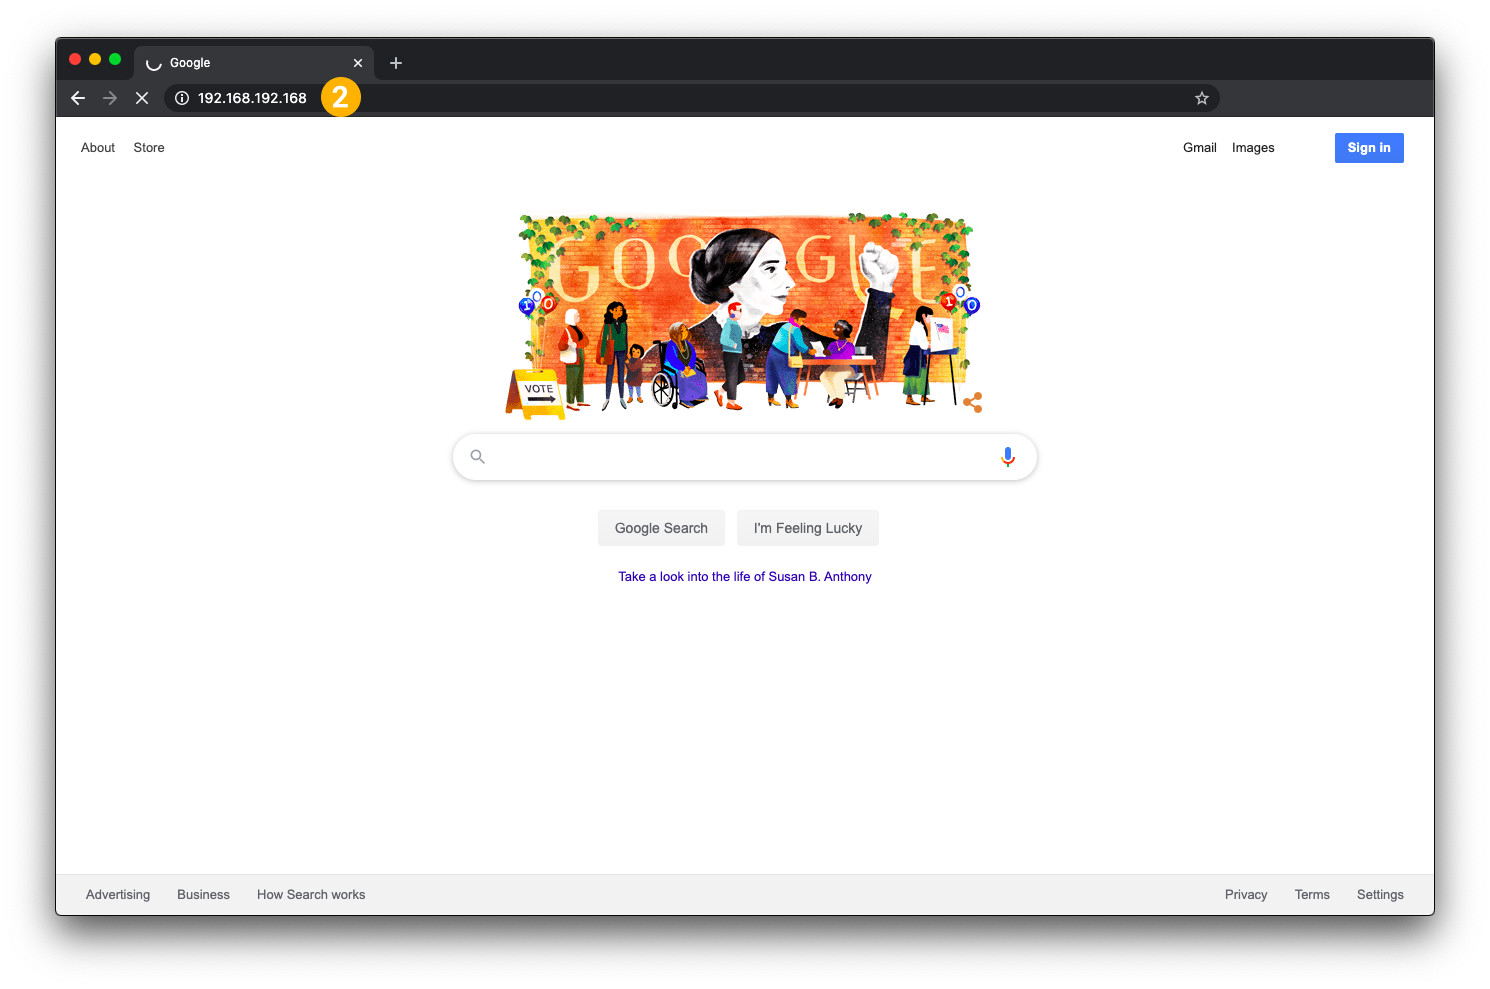
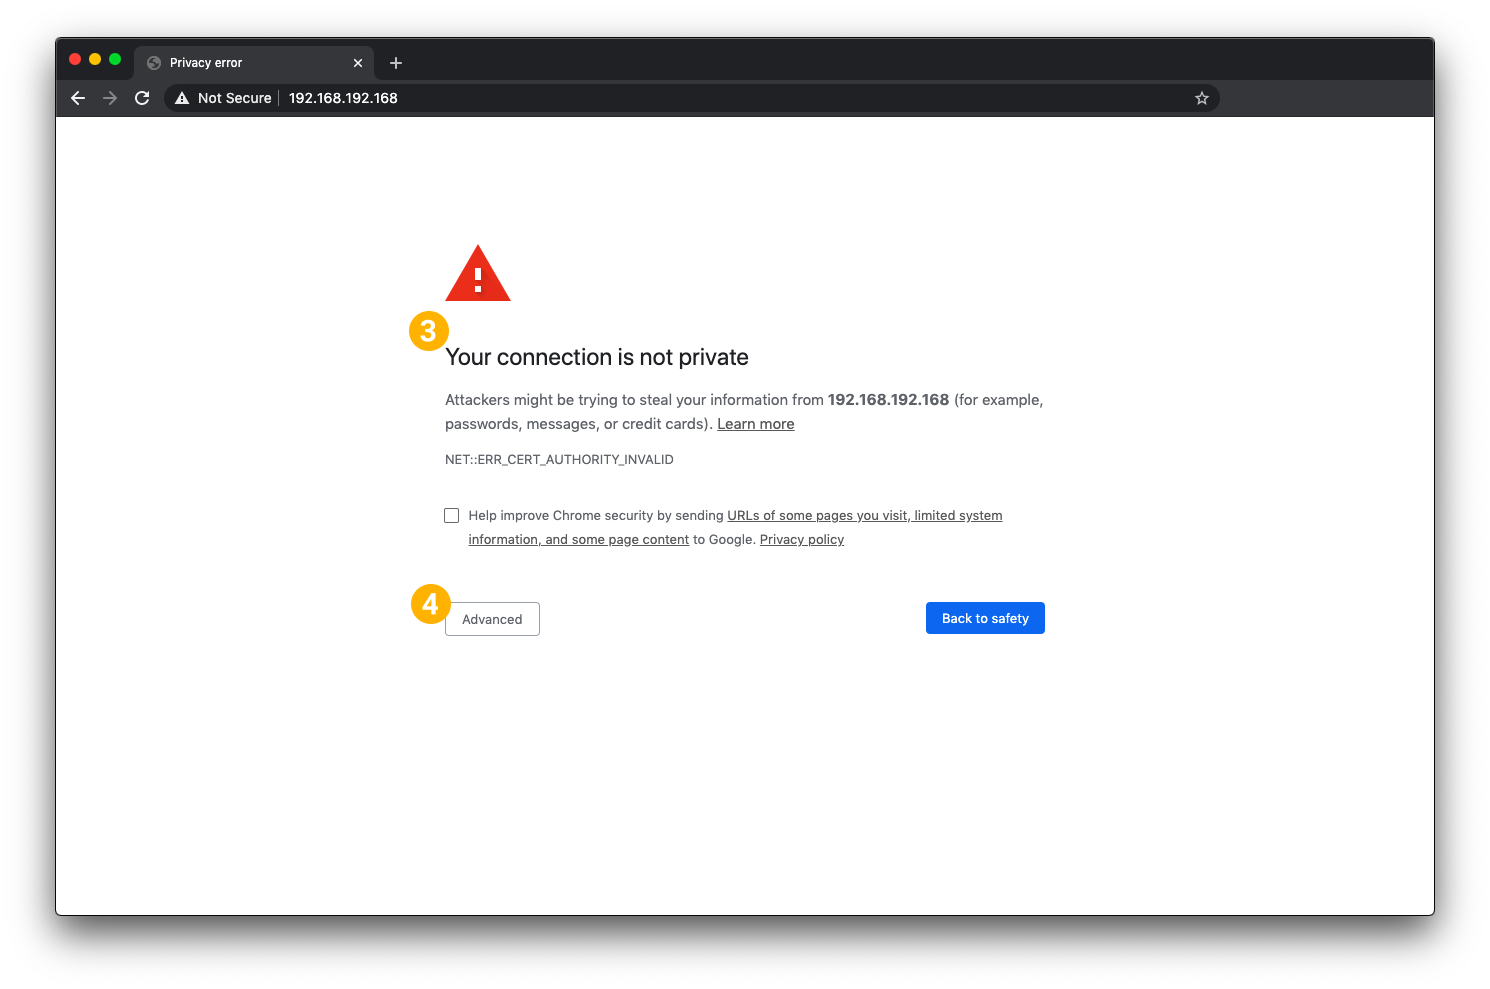
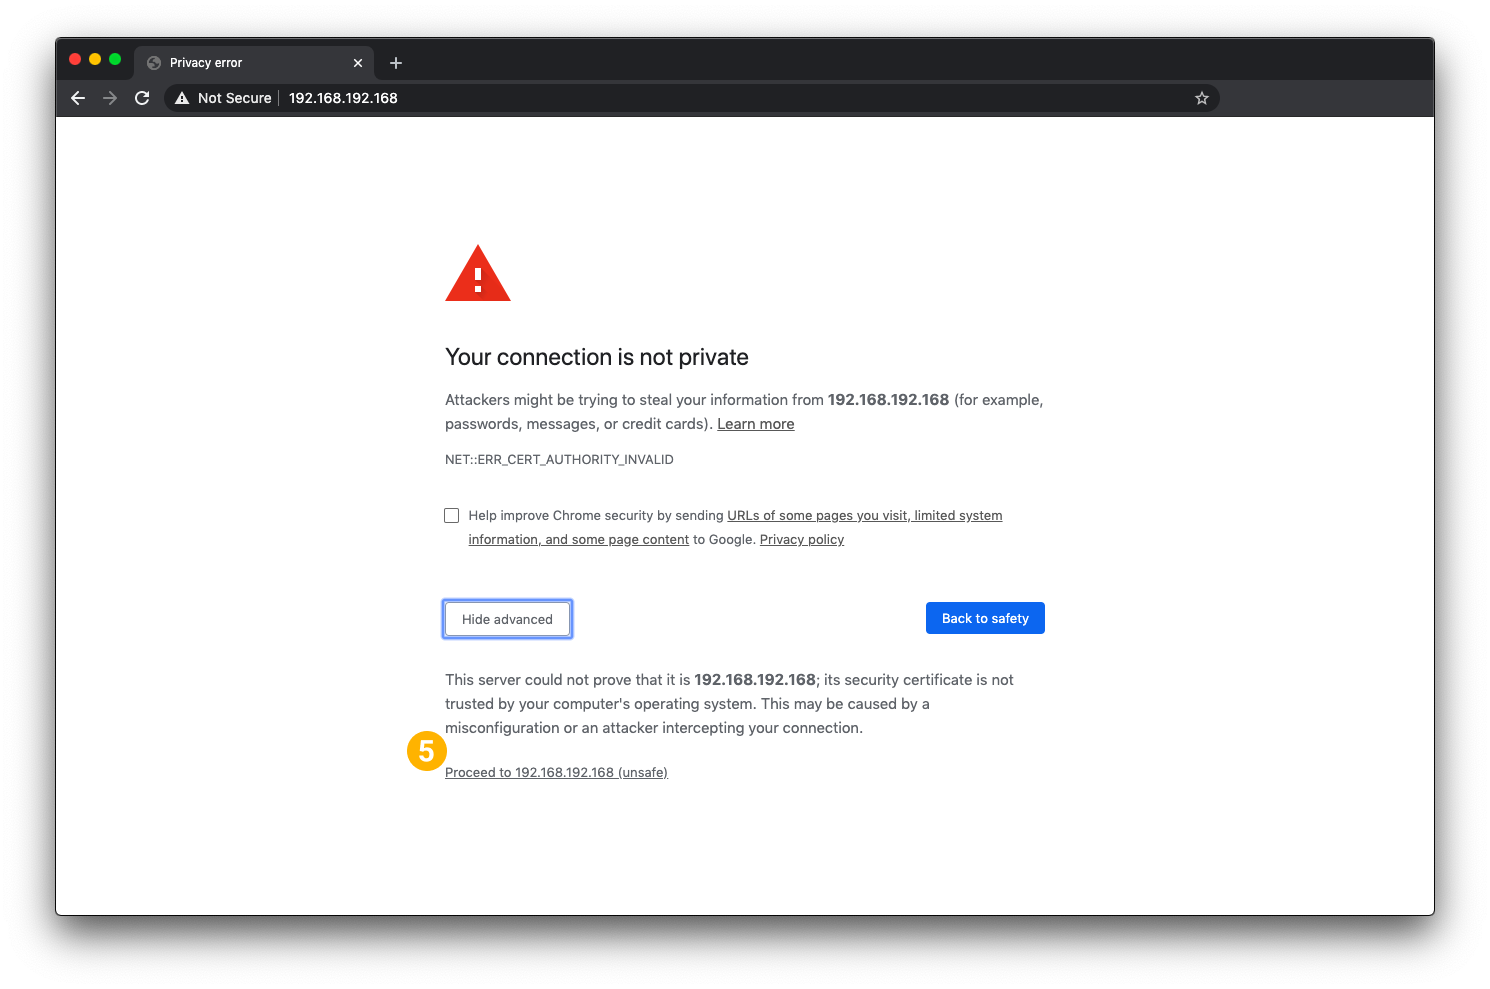
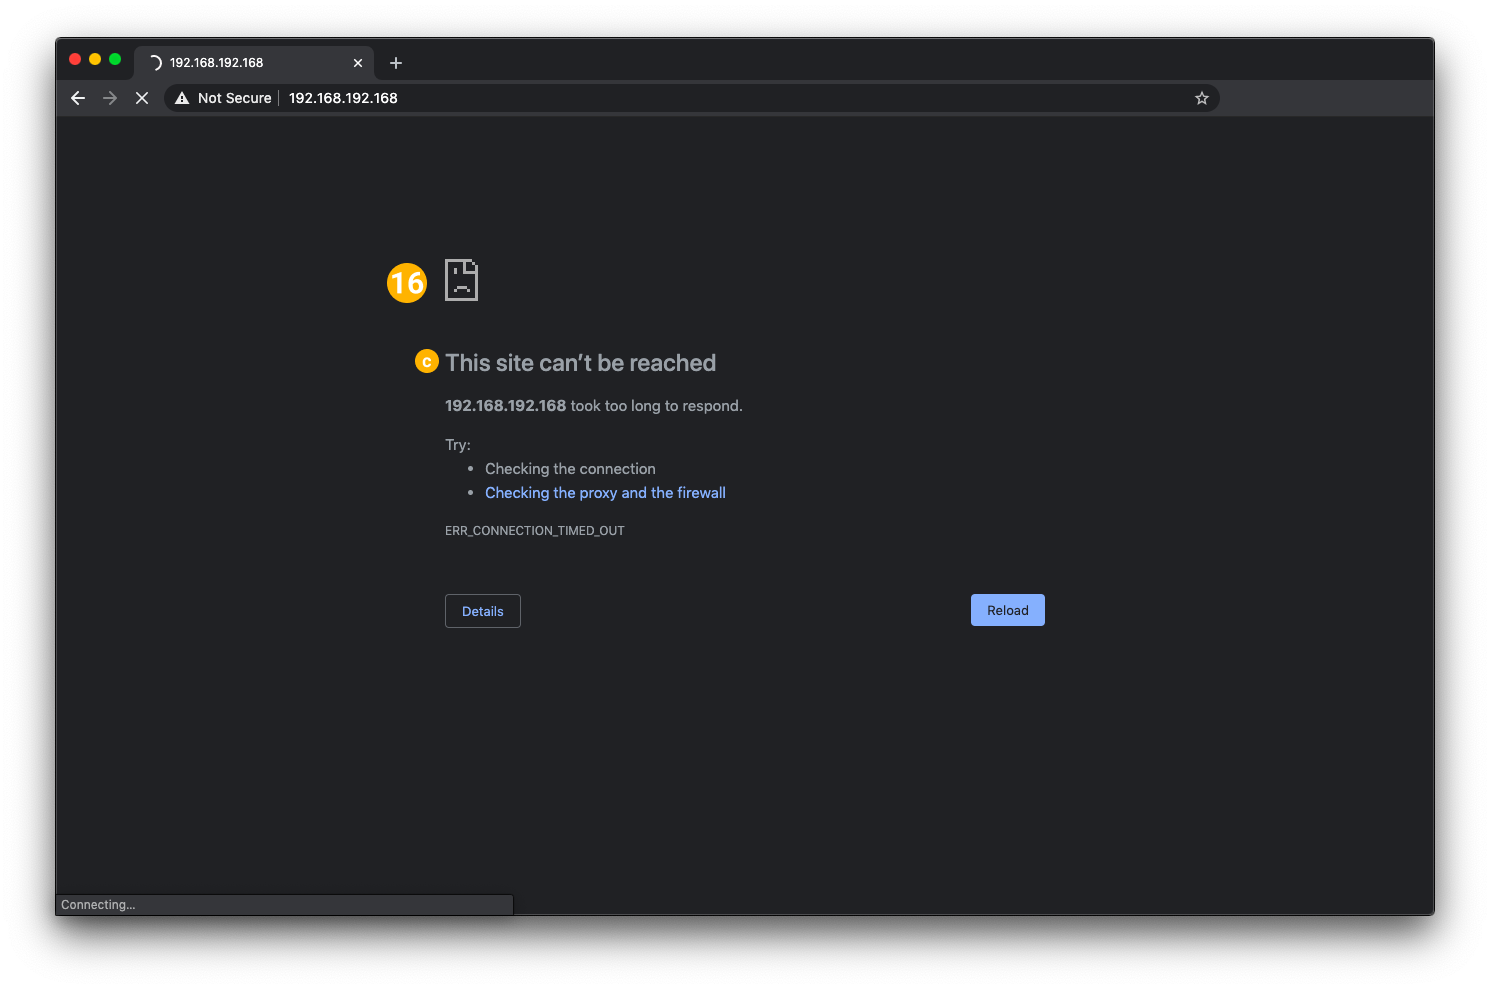
Use a web browser to access the printer's configuration page.
|
|
|
|
|
|
|
|
|
|
|
|
|
|
|
|
|
|
|
|
|
|
|
|
|
|
|
|
|

Tips and Tricks
- Be patient and take your time!
- Watch for typos! IP addresses are an exact science!
- If the computer is not recognizing the printer after connecting the devices, try turning the printer off for 60 seconds and then back on.
- IMPORTANT! All devices on the same network must have IP addresses within the same IP scheme, and every device must have a unique address. For example, an IP scheme of 192.168.22.___ may be able to accommodate devices with addresses from 192.168.22.2 to 192.168.22.254, but if two devices have the same address, neither device will work.
- Every network is different. When in doubt, always contact your Network Management Team.